

背景
在开发中用过很多次 UIActionSheet ,有的设计师有自己的想法,用"iOS系统提供的有自己的样式,要不就用系统的样式吧"这样的理由人家根本不买账,来一句:"不行,还是按照我设计的样式来吧"。没办法,只有自己去自定义了。在维护的 APP 大改版时,有好几种不一样的样式,即使看上去一样的样式,有些细节也不一样,比如字体,有的是17号字有的是15号字。每一个选项的高有的是40p 有的是55p。 为了满足多种样式,只有自己定义了一个组件,自动布局要依赖 SnapKit.
类之间的关系设计
如果只是用语言描述,感觉总是苍白无力描述不清,为了让感兴趣的小伙伴迅速了解类与类之间的关系以及整体的架构,所以简单的画了张图,然后在解释下.
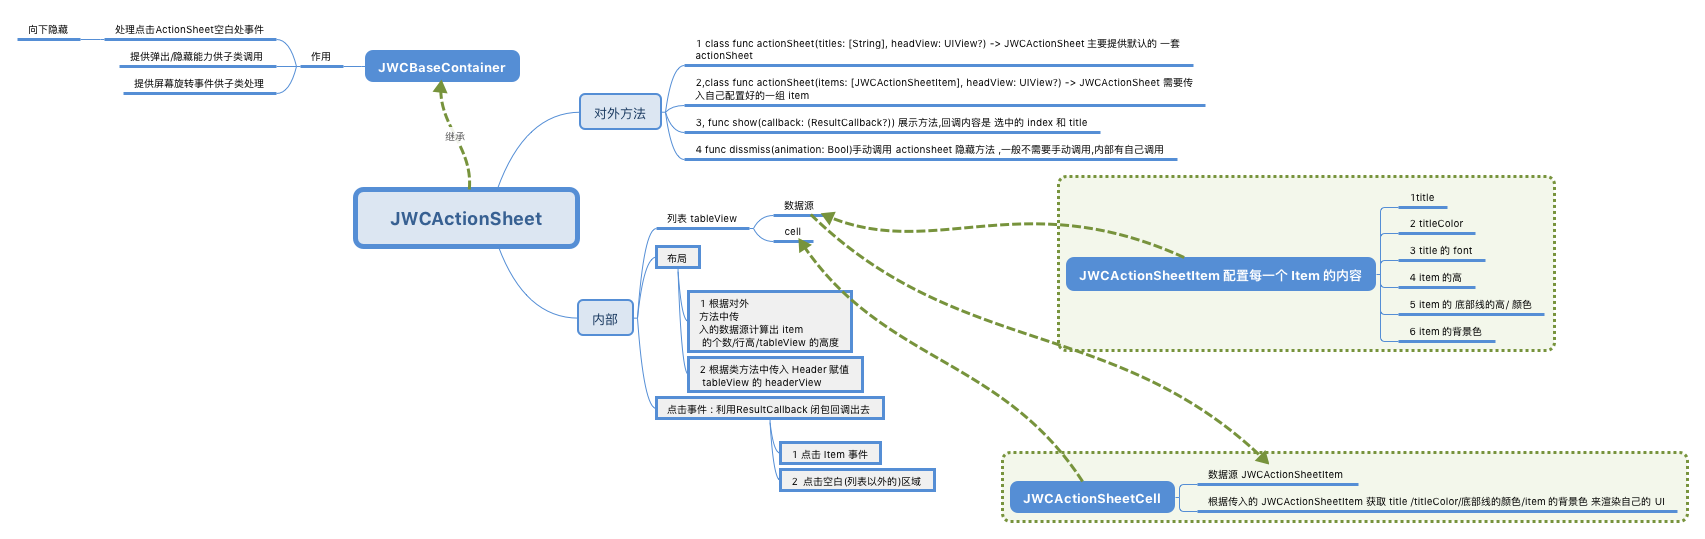
首先说下JWCBaseContainer,这个类主要是一个 base 类,方便与有类似功能的子类继承使用父类的 API。
功能:
- 提供列表的隐藏动画和弹出动画
- 处理点击列表空白处事件(隐藏列表)
- 提供屏幕旋转事件,供子类处理
如下
//显示/隐藏动画
    func transAni(type:String ,subType:String,function:String) -> CATransition {
        let animation = CATransition()
        animation.timingFunction = CAMediaTimingFunction(name: function)
        animation.duration = 0.3
        animation.type = type
        animation.subtype = subType
        return animation
    }
    // 透明度渐渐变淡动画
    func opacityReduce_Animation(time : TimeInterval) -> CABasicAnimation {
        let animation = CABasicAnimation(keyPath:"opacity")
        animation.fromValue = 1
        animation.toValue = 0
        animation.duration = time
        animation.autoreverses = true
        animation.isRemovedOnCompletion = true
        animation.fillMode = kCAFillModeForwards
        animation.timingFunction = CAMediaTimingFunction.init(name: kCAMediaTimingFunctionEaseIn)
        return animation
    }
其次,JWCActionSheetItem类,这个类是比较重要的类,主要供使用这配置ActionSheet 的 每一个 item 的样式,类似于我们常用的 tableView的数据 Model,主要可以配置每一个 item 的一下内容;
   //标题
     var title:String = ""
    //标题颜色: 默认为黑
     var titleColor:UIColor = UIColor.black
    // 标题的字体,默认为14
     var titleFont = UIFont.systemFont(ofSize: 14)
    // item 的高度 默认为30
     var height:Float = 30
    //两个 item 的之间的分割线颜色 默认为灰色
     var bottomLineColor:UIColor = UIColor.init(white: 0, alpha: 0.2)
    //两个 item 的之间的分割线高度 默认为1
     var bottomLineHeight:Float = 1.0
    // item 的背景颜色
     var backgroundColor:UIColor = UIColor.white
为了方便使用,声明了两个便利构造函数,根据需要选择合适的便利构造函数
convenience init(title:String,titleColor:UIColor,titleFont:UIFont,height:Float,bottomLineColor:UIColor,bottomLineHeight:Float,backgroundColor:UIColor)
convenience init(title:String,titleFont:UIFont,titleColor:UIColor,height:Float,bottomLineHeight:Float)
再者,JWCActionSheetCell 类,此类功能比较简单,主要是在被赋值一个JWCActionSheetItem类型的数据源时,根据JWCActionSheetItem的内容来渲染自己的 UI
最后,JWCActionSheet 类。此类是前面几个类的应用与集成。提供两个类方法,方便使用:
- [ ] JWCActionSheet中比较重要的几个方法:
/// 类方法1
     ///
     /// - Parameters:
     ///   - titles: 数据源 String 类型
     ///   - headView:headerView 如果没有则传 nil
     /// - Returns:
class func actionSheet(titles:[String],headView:UIView?) -> JWCActionSheet {
        let action = JWCActionSheet.init(titles: titles, headView: headView)
        return action
    }
其中 headerView 是可选的,根据自己的需要,在外面生成一个继承自 UIView 的类传入即可。这个传入的参数是 String 类型的数组,因为此方法会生成一个默认样式的 ActionSheet ,主要是为了方便
- [x] 注意: ==headerView 传入时一定要有大小==
第二个类方法:
 /// 类方法2
     ///
     /// - Parameters:
     ///   - items: 数据源 JWCActionSheetItem 类型的数组
     ///   - headView: headerView 如果没有则传 nil
     ///
     class func actionSheet(items:[JWCActionSheetItem],headView:UIView?) -> JWCActionSheet {
        let action = JWCActionSheet.init(items: items, headView: headView)
        return action
    }
这个类方法和第一个类方法的区别之处就在于,传入的参数有区别,此类方法传入的是 JWCActionSheetItem 类型的数组,传入的JWCActionSheetItem 都是使用者根据自己的需要自己定义的。
- [x] 注意:如果默认的样式无法满足自己的需要则可以调用此方法
JWCActionSheet的 show 方法:
/// 弹出
    ///
    /// - Parameter callback: <#callback description#>
    func show(callback:(ResultCallback?)) {
        resultCallback = callback

        var window: UIWindow! = UIApplication.shared.delegate?.window as? UIWindow
        if window == nil {
            window = UIApplication.shared.keyWindow
        }

        if window.isKind(of: UIWindow.self) {
            window.addSubview(self)
            self.snp.makeConstraints { (make) in
                make.edges.equalTo(window)
            }
            self.setNeedsLayout()
            self.layoutIfNeeded()
        }
        if tableView.isHidden {
            tableView.isHidden = false
        }
        let trans = transAni(type: kCATransitionMoveIn, subType: kCATransitionFromTop, function: kCAMediaTimingFunctionEaseOut)
        tableView.layer.add(trans, forKey: nil)
    }
当生成JWCActionSheet的对象后,需要这是展示JWCActionSheet的时候调用,当发生选择点击事件时回走ResultCallback 闭包,可以在此闭包内处理选择事件
- [ ] JWCActionSheet 内部逻辑处理
-
tableView 的高
tableView 的高根据每一个 Item 的高和底部下划线的高相加而得出
-
点击事件: 点击事件分为两种
(1) 点击ActionSheet空白处: 隐藏ActionSheet,回调出去的值为 index = -1 title = nil
(2) 选中某一个item 回调出去的值 index = 当前 item 的 index title 为当前 item 的 title
-
tableView 的 headerView: 在提供的对外初始化的两个方法中有 headerView 参数,如果没有则传入 nil 反之传入自定义的 headerView
附:使用例子
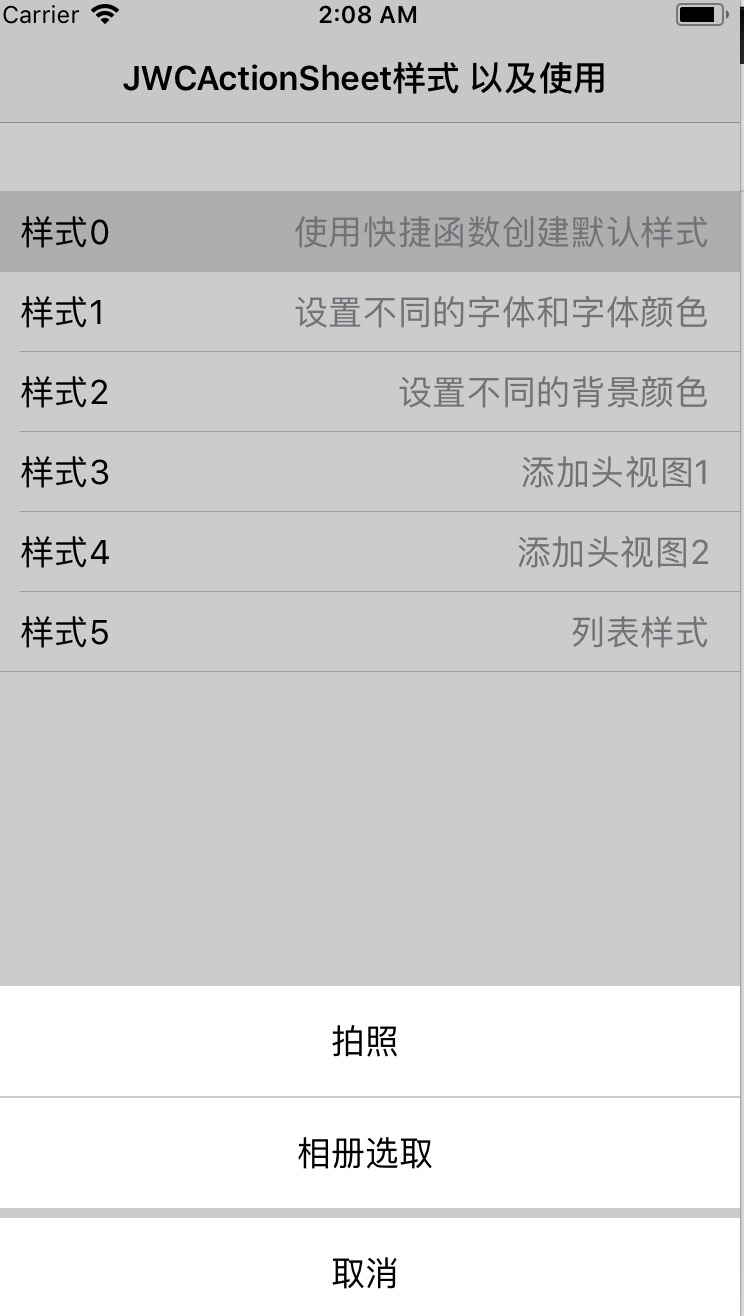
 // MARK: 默认样式
    func style0() {
        JWCActionSheet.actionSheet(titles: ["拍照","相册选取","取消"],headView:nil).show { (index, title) in
            print("index:\(index),title:\(String(describing: title))")
        }
    }
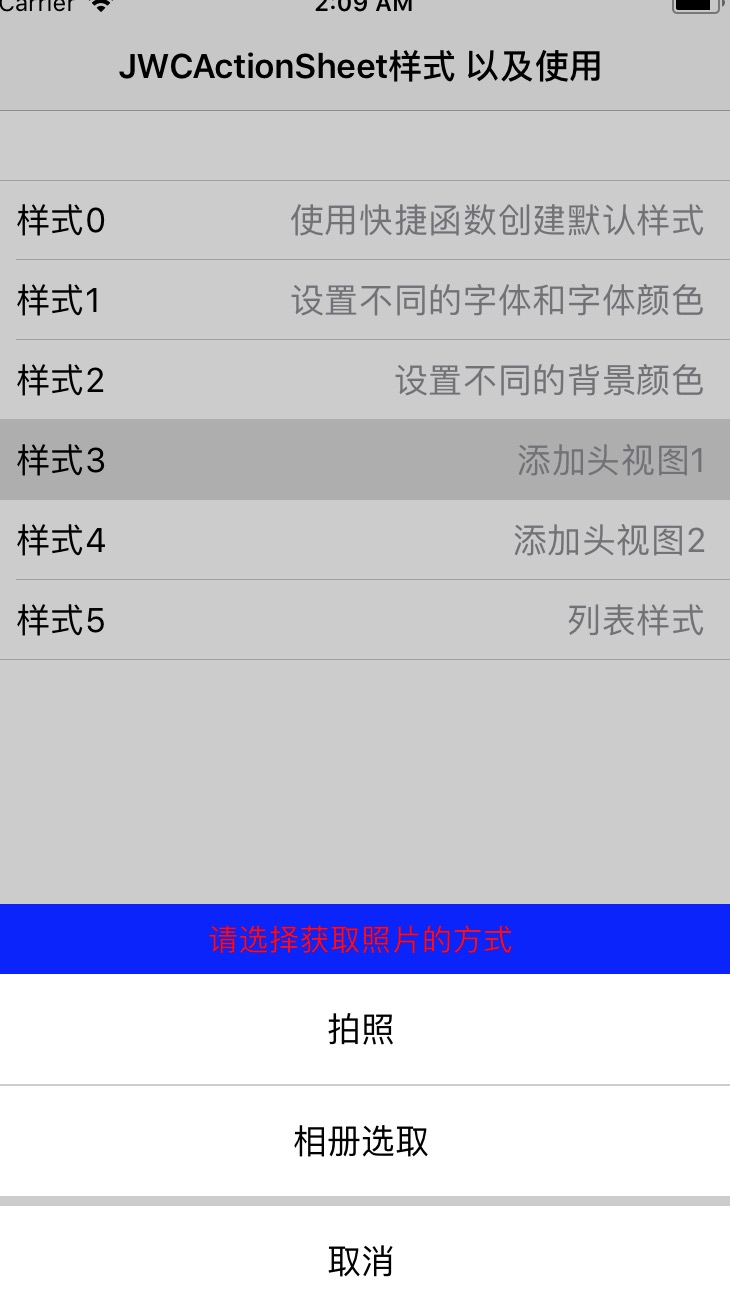
// MARK: 添加头视图1
    func style3() {

        let headerView = UILabel.init(frame: CGRect.init(x: 0, y: 0, width: UIScreen.main.bounds.width, height: 35))
            headerView.text = "请选择获取照片的方式"
            headerView.textAlignment = .center
            headerView.font = UIFont.systemFont(ofSize: 15)
            headerView.textColor = UIColor.red
            headerView.backgroundColor = UIColor.blue
        JWCActionSheet.actionSheet(titles: ["拍照","相册选取","取消"], headView: headerView).show { (index, title) in
            print("index:\(index),title:\(String(describing: title))")
        }

    }
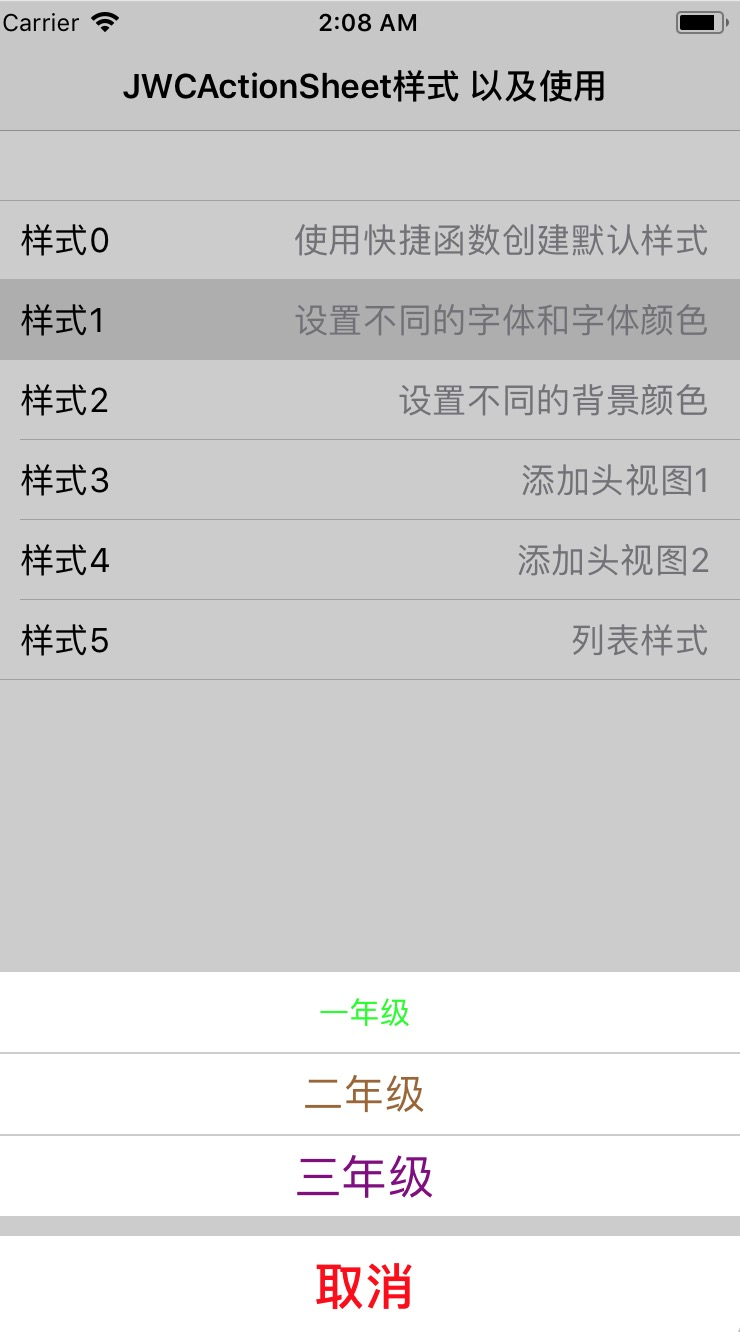
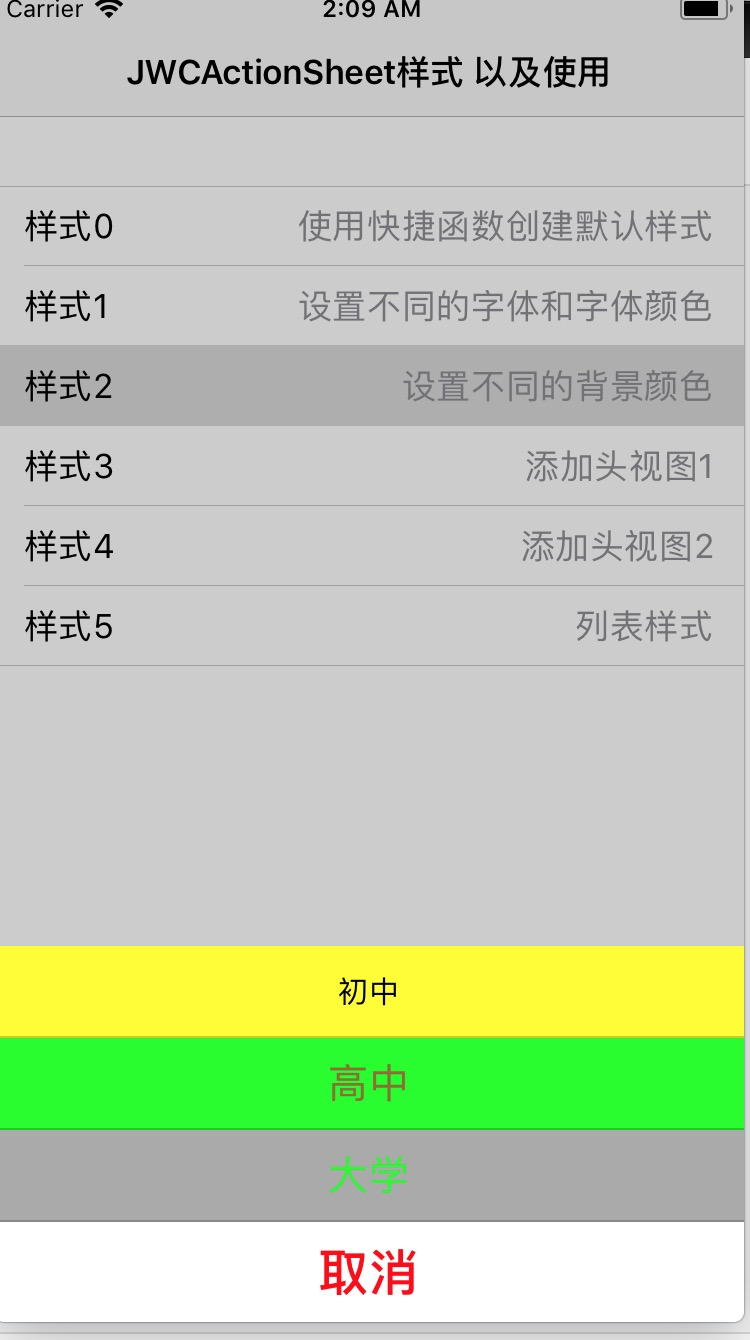
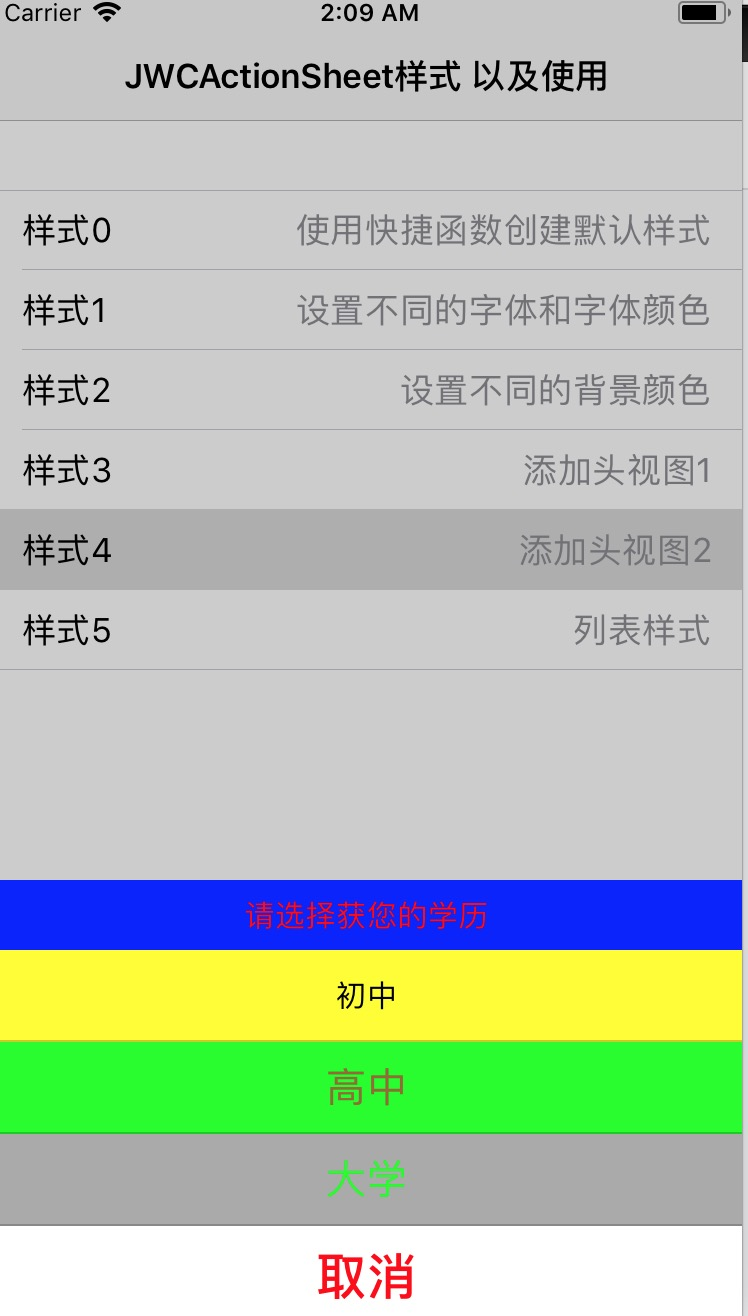
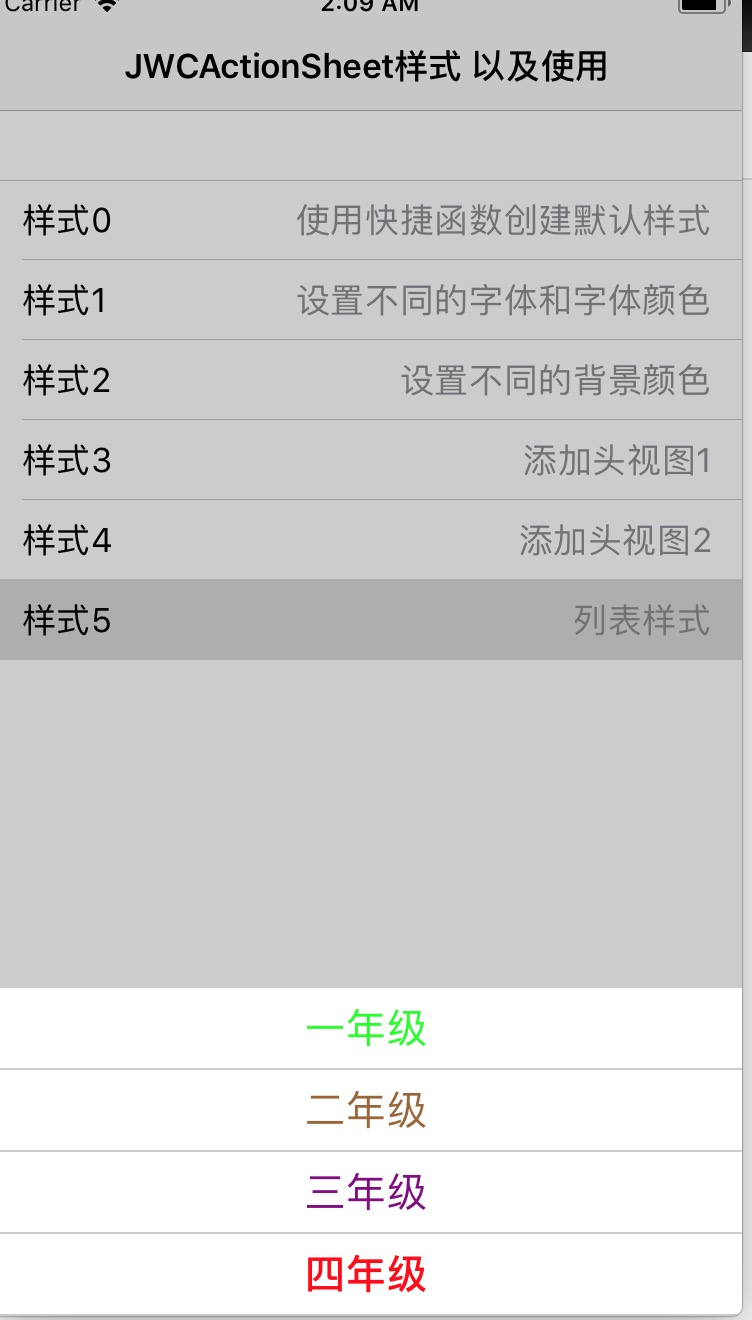
几张效果图:
写在后面的话
感觉这个小组件还是比较简单,也有一些缺点,比如其内部自动布局要依赖于 SnapKit。写出来的主要目的是不能让自己犯懒,如果一直拖着不写博客,时间久了,就很难再写了,会越来越懒。手动[Doge]
要养成随手点赞的好习惯 O(∩_∩)O~~
转载请注明出处: 老JI https://juejin.cn/post/6844903621520261128
