

本文介绍了PyTorch中的Tensor类,它类似于Numpy中的ndarray,它构成了在PyTorch中构建神经网络的基础。
我们已经知道张量到底是什么了,并且知道如何用Numpy的ndarray来表示它们,现在我们看看如何在PyTorch中表示它们。
自从Facebook在2017年初将PyTorch开源以来,它已经在机器学习领域取得了令人瞩目的成绩。它可能没有像TensorFlow那样被广泛采用 --- 它的最初发布时间早于PyTorch一年,背后有Google的支持,并且当神经网络工具迎来新的潮流时,它已经将自己确立为了金牌标准。但PyTorch在研究领域受到了广泛的关注,这种关注大部分来自与Torch本身的关系,以及它的动态计算图。
尽管最近我的注意力都在PyTorch上,但这篇文章并不是PyTorch的教程。它更多地是介绍PyTorch的Tensor类,这与Numpy的ndarray类似。
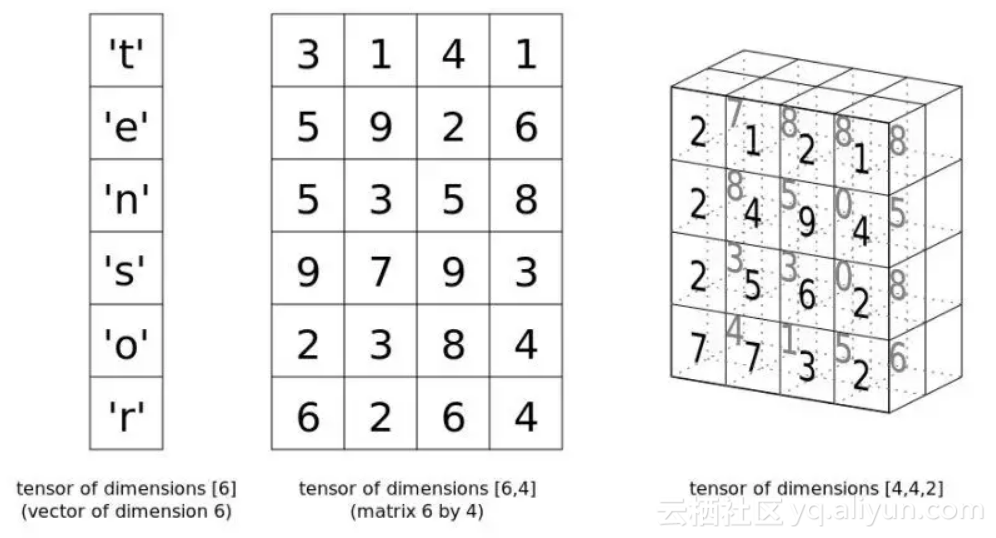
张量基础
让我们来看一下PyTorch的张量基础知识,从创建张量开始(使用Tensor类):
import torch

# Create a Torch tensor

t = torch.Tensor([[1, 2, 3], [4, 5, 6]])

t

tensor([[ 1., 2., 3.],

[ 4., 5., 6.]])
你可以使用两种方式转置一个张量:
# Transpose

t.t()

# Transpose (via permute)

t.permute(-1,0)
两者都会产生如下输出结果:
tensor([[ 1., 4.],

[ 2., 5.],

[ 3., 6.]])
请注意,两种方式都不会导致原始张量的改变。
用view重新塑造张量:
# Reshape via view
t.view(3,2)

tensor([[ 1., 2.],

[ 3., 4.],

[ 5., 6.]])
另一个例子:
# View again...

t.view(6,1)

tensor([[ 1.],

[ 2.],

[ 3.],

[ 4.],

[ 5.],

[ 6.]])
很明显,Numpy所遵循的数学约定延续到了PyTorch张量中(我具体指的是行和列的标记符号)。
创建一个张量并用零填充(你可以用ones()来完成类似的操作):
# Create tensor of zeros

t = torch.zeros(3, 3)

t

tensor([[ 0., 0., 0.],

[ 0., 0., 0.],

[ 0., 0., 0.]])
从正态分布中随机取数并创建张量:
# Create tensor from normal distribution randoms

t = torch.randn(3, 3)

t

tensor([[ 1.0274, -1.3727, -0.2196],

[-0.7258, -2.1236, -0.8512],

[ 0.0392, 1.2392, 0.5460]])
Tensor对象的形状、维度和数据类型:
# Some tensor info

print('Tensor shape:', t.shape) # t.size() gives the same

print('Number of dimensions:', t.dim())

print('Tensor type:', t.type()) # there are other types

Tensor shape: torch.Size([3, 3])

Number of dimensions: 2

Tensor type: torch.FloatTensor
除了在数学概念上,ndarray和Tensor在编程和实例化上也有相似之处。
你可以像切片ndarrays一样切片PyTorch张量,任何使用其他Python结构的人应该都熟悉这一点:
# Slicing

t = torch.Tensor([[1, 2, 3], [4, 5, 6], [7, 8, 9]])

# Every row, only the last column

print(t[:, -1])

# First 2 rows, all columns

print(t[:2, :])

# Lower right most corner

print(t[-1:, -1:])

tensor([ 3., 6., 9.])

tensor([[ 1., 2., 3.],

[ 4., 5., 6.]])

tensor([[ 9.]])
PyTorch张量和Numpy ndarray之间转换
你可以轻松地从ndarray创建张量,反之亦然。这些操作很快,因为两个结构的数据将共享相同的内存空间,因此不涉及复制。这显然是一种有效的方法。
# Numpy ndarray <--> PyTorch tensor

import numpy as np

# ndarray to tensor

a = np.random.randn(3, 5)

t = torch.from_numpy(a)

print(a)

print(t)

print(type(a))

print(type(t))

[[-0.52192738 -1.11579634 1.26925835 0.10449378 -1.02894372]

[-0.78707263 -0.05350072 -0.65815075 0.18810677 -0.52795765]

[-0.41677548 0.82031861 -2.46699201 0.60320375 -1.69778546]]

tensor([[-0.5219, -1.1158, 1.2693, 0.1045, -1.0289],

[-0.7871, -0.0535, -0.6582, 0.1881, -0.5280],

[-0.4168, 0.8203, -2.4670, 0.6032, -1.6978]], dtype=torch.float64)

<class 'numpy.ndarray'>

<class 'torch.Tensor'>


# tensor to ndarray

t = torch.randn(3, 5)

a = t.numpy()

print(t)

print(a)

print(type(t))

print(type(a))

tensor([[-0.1746, -2.4118, 0.4688, -0.0517, -0.2706],

[-0.8402, -0.3289, 0.4170, 1.9131, -0.8601],

[-0.6688, -0.2069, -0.8106, 0.8582, -0.0450]])

[[-0.17455131 -2.4117854 0.4688457 -0.05168453 -0.2706456 ]

[-0.8402392 -0.3289494 0.41703534 1.9130518 -0.86014426]

[-0.6688193 -0.20693372 -0.8105542 0.8581988 -0.04502954]]

<class 'torch.Tensor'>

<class 'numpy.ndarray'>
基本张量操作
这里有几个张量操作,你可以将它与Numpy的实现进行比较。 首先是叉积(cross product):
# Compute cross product
t1 = torch.randn(4, 3)

t2 = torch.randn(4, 3)

t1.cross(t2)

tensor([[ 2.6594, -0.5765, 1.4313],

[ 0.4710, -0.3725, 2.1783],

[-0.9134, 1.6253, 0.7398],

[-0.4959, -0.4198, 1.1338]])
下面是矩阵的积:
# Compute matrix product

t = (torch.Tensor([[2, 4], [5, 10]]).mm(torch.Tensor([[10], [20]])))

t

tensor([[ 100.],

[ 250.]])
最后,对应元素的乘法:
# Elementwise multiplication

t = torch.Tensor([[1, 2], [3, 4]])

t.mul(t)

tensor([[ 1., 4.],

[ 9., 16.]])PyTorch张量具有固有的GPU支持。指定使用GPU内存和CUDA内核来存储和执行张量计算非常简单;cuda软件包可以帮助确定GPU是否可用,并且该软件包的cuda方法为GPU分配了一个张量。
# Is CUDA GPU available?

torch.cuda.is_available()

# How many CUDA devices?

torch.cuda.device_count()

# Move to GPU

t.cuda()
原文发布时间为:2018-06-12
本文作者:数据派
