

写在前面
最近有这么一个需求,分享页面,分享的是web订单截图,既然是web 就会有超出屏幕的部分,
生成的图片还要加上我们的二维码,这就涉及到图片的合成了。
有了这样的需求,就是各种google.也算解决了自己的需求,另外,也总结了一下,对需求做了下拓展,目前是swift4.0版本。
整合成一个三方库,以下只是部分代码,详细代码及demo请见,github地址https://github.com/dudongge/DDGScreenShot
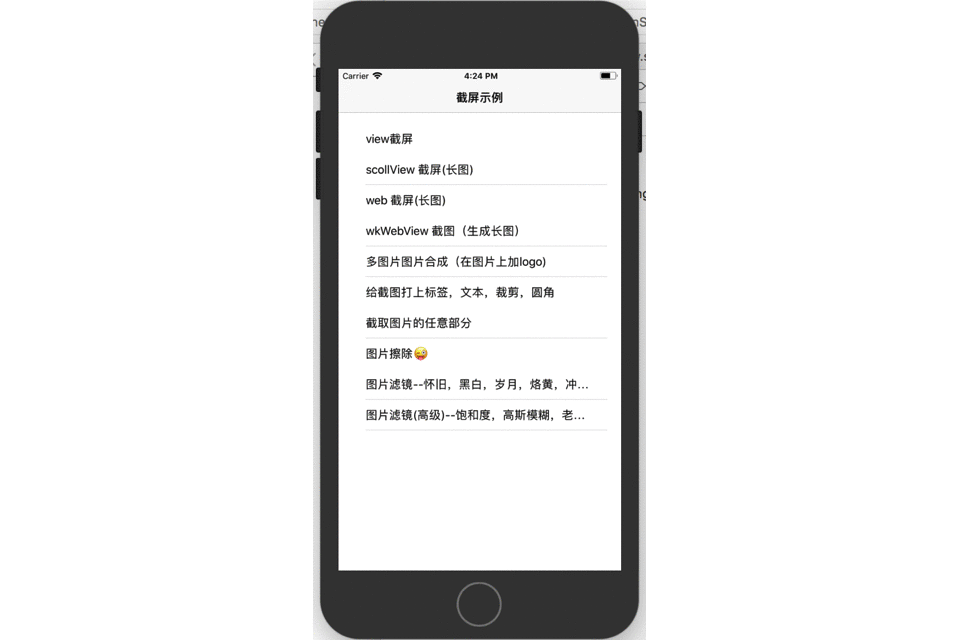
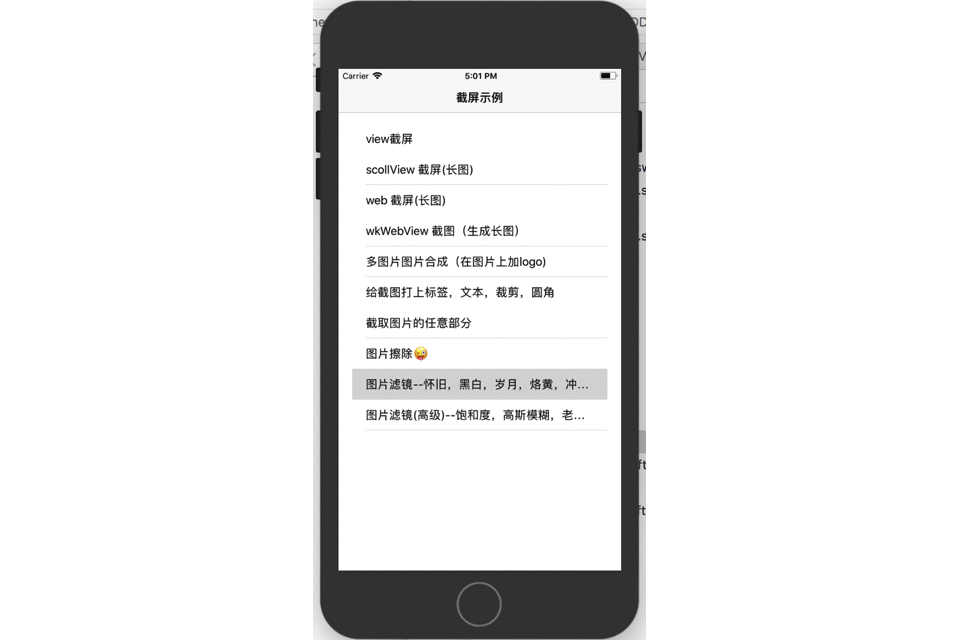
DDGScreenShot 所有功能演示
View生成图片
代码也比较简单 screenShotImage 就是截取后的图片
        let context = UIGraphicsGetCurrentContext()
        context?.saveGState()
        context?.translateBy(x: -self.frame.origin.x, y: -self.frame.origin.y);
         self.layer.render(in: context!)
        let screenShotImage = UIGraphicsGetImageFromCurrentImageContext()
        context?.restoreGState();
        UIGraphicsEndImageContext()
ScrollView生成图片
只要实现原理是计算偏移量,每一屏绘制一次,放在内存里,最后将所有的图片组合成一张图片 screenShotImage就是最终图片
public func DDGContentScrollScreenShot (_ completionHandler: @escaping (_ screenShotImage: UIImage?) -> Void) {

        self.isShoting = true

        let snapShotView = self.snapshotView(afterScreenUpdates: true)
        snapShotView?.frame = CGRect(x: self.frame.origin.x, y: self.frame.origin.y, width: (snapShotView?.frame.size.width)!, height: (snapShotView?.frame.size.height)!)
        self.superview?.addSubview(snapShotView!)

        let bakOffset    = self.contentOffset

        let page  = floorf(Float(self.contentSize.height / self.bounds.height))

        UIGraphicsBeginImageContextWithOptions(self.contentSize, false, UIScreen.main.scale)

        self.DDGContentScrollPageDraw(0, maxIndex: Int(page), drawCallback: { [weak self] () -> Void in
            let strongSelf = self

            let screenShotImage = UIGraphicsGetImageFromCurrentImageContext()
            UIGraphicsEndImageContext()

            strongSelf?.setContentOffset(bakOffset, animated: false)
            snapShotView?.removeFromSuperview()

            strongSelf?.isShoting = false

            completionHandler(screenShotImage)
        })

    }

    fileprivate func DDGContentScrollPageDraw (_ index: Int, maxIndex: Int, drawCallback: @escaping () -> Void) {

        self.setContentOffset(CGPoint(x: 0, y: CGFloat(index) * self.frame.size.height), animated: false)
        let splitFrame = CGRect(x: 0, y: CGFloat(index) * self.frame.size.height, width: bounds.size.width, height: bounds.size.height)

        DispatchQueue.main.asyncAfter(deadline: DispatchTime.now() + Double(Int64(0.3 * Double(NSEC_PER_SEC))) / Double(NSEC_PER_SEC)) { () -> Void in
            self.drawHierarchy(in: splitFrame, afterScreenUpdates: true)

            if index < maxIndex {
                self.DDGContentScrollPageDraw(index + 1, maxIndex: maxIndex, drawCallback: drawCallback)
            }else{
                drawCallback()
            }
        }
    }
UIwebView生成图片 && wkwebView
绘制时大同小异,只是wkwebView 调用的绘制方法为:drawHierarchy 其核心代码如下
采用递归,直到拿到最后一个偏移量。
fileprivate func DDGRenderImageView(_ completionHandler: @escaping (_ screenShotImage: UIImage?) -> Void) {
        let ddgTempRenderView = UIView(frame: CGRect(x: 0, y: 0, width: self.contentSize.width, height: self.contentSize.height))
        self.removeFromSuperview()
        ddgTempRenderView.addSubview(self)

        self.contentOffset = CGPoint.zero
        self.frame         = ddgTempRenderView.bounds

        DispatchQueue.main.asyncAfter(deadline: DispatchTime.now() + Double(Int64(0.3 * Double(NSEC_PER_SEC))) / Double(NSEC_PER_SEC)) { () -> Void in
            let bounds = self.bounds
            UIGraphicsBeginImageContextWithOptions(bounds.size, false, UIScreen.main.scale)

            if (self.DDGContainsWKWebView()) {
                self.drawHierarchy(in: bounds, afterScreenUpdates: true)
            }else{
                self.layer.render(in: UIGraphicsGetCurrentContext()!)
            }
            let screenShotImage = UIGraphicsGetImageFromCurrentImageContext()
            UIGraphicsEndImageContext()

            completionHandler(screenShotImage)
        }
    }
fileprivate func shotScreenContentScrollPageDraw (_ index: Int, maxIndex: Int, drawCallback: @escaping () -> Void) {

        self.scrollView.setContentOffset(CGPoint(x: 0, y: CGFloat(index) * self.scrollView.frame.size.height), animated: false)
        let splitFrame = CGRect(x: 0, y: CGFloat(index) * self.scrollView.frame.size.height, width: bounds.size.width, height: bounds.size.height)

        DispatchQueue.main.asyncAfter(deadline: DispatchTime.now() + Double(Int64(0.3 * Double(NSEC_PER_SEC))) / Double(NSEC_PER_SEC)) { () -> Void in
            self.drawHierarchy(in: splitFrame, afterScreenUpdates: true)

            if index < maxIndex {
                self.shotScreenContentScrollPageDraw(index + 1, maxIndex: maxIndex, drawCallback: drawCallback)
            }else{
                drawCallback()
            }
        }
    }
两张图片合为一张(一张底图,一张logo)
在UIImage上做了拓展
let imageRef = self.cgImage
        let w: CGFloat = CGFloat((imageRef?.width)!)
        let h: CGFloat = CGFloat((imageRef?.height)!)
        //以1.png的图大小为画布创建上下文
        UIGraphicsBeginImageContext(CGSize(width: w, height: h))
        self.draw(in: CGRect(x: 0, y: 0, width: w, height: h))
        //先把1.png 画到上下文中
        logo.draw(in: CGRect(x: logoOrigin.x,
                             y: logoOrigin.y,
                             width: logoSize.width,
                             height:logoSize.height))
        //再把小图放在上下文中
        let resultImg: UIImage? = UIGraphicsGetImageFromCurrentImageContext()
        //从当前上下文中获得最终图片
        UIGraphicsEndImageContext()
        return resultImg!
在图片上写文字/加标签
同样对UIimage 做了拓展,增加了几个参数
  public func drawTextInImage(text: String,
                         textColor: UIColor,
                         textFont: CGFloat,
                         textBgColor: UIColor,
                         textX: CGFloat,
                         textY: CGFloat )->UIImage {
        //开启图片上下文
        UIGraphicsBeginImageContext(self.size)
        //图形重绘
        self.draw(in: CGRect.init(x: 0, y: 0, width: self.size.width, height: self.size.height))
        //水印文字属性
        let att = [NSAttributedStringKey.foregroundColor: textColor,
                   NSAttributedStringKey.font: UIFont.systemFont(ofSize: textFont),
                   NSAttributedStringKey.backgroundColor: textBgColor]
        //水印文字大小
        let text = NSString(string: text)
        let size =  text.size(withAttributes: att)
        //绘制文字
        text.draw(in: CGRect.init(x: textX, y: textY, width: size.width, height: size.height), withAttributes: att)
        //从当前上下文获取图片
        let image = UIGraphicsGetImageFromCurrentImageContext()
        //关闭上下文
        UIGraphicsEndImageContext()
        return image!
    }
结束语
空间有限,所注代码不全,我把上述功能整理成了最新的带三方库,
以后会加上图片的相关处理,比如美颜,剪切,马赛克,组图等,
附上我的git地址:https://github.com/dudongge/DDGScreenShot
有什么问题也可以联系我QQ:532835032
如果对您有帮助,请您不吝star一下,增加我更新的动力
附上github上READER.ME文件部分内容
## view截屏:
    view.DDGScreenShot { (image) in
         拿到 image
         各种复杂装逼操作
         、、、、
    }
   ## ScrollView截屏:
    scrollView.DDGContentScrollScreenShot { (image) in
         拿到 image
         各种复杂装逼操作
         、、、、
    }
  ## webView截屏:
    webView.DDGContentscreenShot { (image) in
         拿到 image
         各种复杂装逼操作
         、、、、
    }
  ## wkwebView截屏: 方法和webView 一样,内部做了校验
      webView.DDGContentscreenShot { (image) in
           拿到 image
           各种复杂装逼操作
           、、、、
      }
  ## image 加 logo
     let image = image.composeImageWithLogo( logo: UIImage,
                               logoOrigin: CGPoint,
                               logoSize:CGSize)
     传入 logo图片,logo位置 logo 大小 就可以得到一张生成好的图片
         、、、、
  ## image 加 标签,水印,文字
     let image = image.drawTextInImage(text: String,
                         textColor: UIColor,
                         textFont: CGFloat,
                         textBgColor: UIColor,
                         textX: CGFloat,
                         textY: CGFloat )
     传入 文字、文字颜色、字体大小、背景颜色,字体起始位置 就可以得到一张生成好的带标签的图片
         、、、、
         注,此方法在提交pod有问题,故将方法屏蔽,有需要的可以拷贝代码,到本地

## 使用pod
     iOS 9.0+, Swift 4.0+(Compatiable)
        使用pod 导入
        pod 'DDGScreenShot'
        ```
