一、安装nginx
安装nginx
yum install nginx
启动nginx服务
systemctl start nginx   #启动
systemctl restart nginx #重启
systemctl stop nginx    #停止
二、安装MySQL
rpm -Uvh  http://dev.mysql.com/get/mysql57-community-release-el7-9.noarch.rpm
yum -y install mysql-community-server
安装完成,启动MySQL
service mysqld start
Redirecting to /bin/systemctl start  mysqld.service
查看MySQL的状态
service mysqld status
设置开机启动
systemctl enable mysqld
systemctl daemon-reload
MySQL安装完成后会生成一个默认密码,可通过以下方式查看默认密码
grep 'temporary password' /var/log/mysqld.log
修改root密码
ALTER USER 'root'@'localhost' IDENTIFIED BY 'NewPassWord!';
如果报一下错误,说明设置的密码不符合MySQL的密码策略
1819 (HY000): Your password does not satisfy the current policy requirements
MySQL的默认密码策略要求密码必须包含:大小写字母、数字和特殊符号,并且长度不能少于8位。通过msyql环境变量可以查看密码策略的相关信息
mysql> show variables like '%password%';
+---------------------------------------+--------+
| Variable_name                         | Value  |
+---------------------------------------+--------+
| default_password_lifetime             | 0      |
| disconnect_on_expired_password        | ON     |
| log_builtin_as_identified_by_password | OFF    |
| mysql_native_password_proxy_users     | OFF    |
| old_passwords                         | 0      |
| report_password                       |        |
| sha256_password_proxy_users           | OFF    |
| validate_password_check_user_name     | OFF    |
| validate_password_dictionary_file     |        |
| validate_password_length              | 8      |
| validate_password_mixed_case_count    | 1      |
| validate_password_number_count        | 1      |
| validate_password_policy              | MEDIUM |
| validate_password_special_char_count  | 1      |
+---------------------------------------+--------+
14 rows in set (0.00 sec)
如果想修改密码策略,在/etc/my.cnf文件添加validate_password_policy配置:
# 选择0(LOW),1(MEDIUM),2(STRONG)其中一种,选择2需要提供密码字典文件
validate_password_policy=0
配置默认编码为utf8,在/etc/my.cnf文件添加如下配置
character_set_server=utf8
init_connect='SET NAMES utf8'
重启MySQL
systemctl restart mysqld
MySQL默认只允许root用户在本地登录,如果要在其他机器上连接MySQL,必须修改root权限或者添加一个远程用户,为了安全起见,添加一个新用户
mysql> GRANT ALL PRIVILEGES ON *.* TO 'jack'@'%' IDENTIFIED BY '@jack2018' WITH GRANT OPTION;
mysql> FLUSH PRIVILEGES;
这样远程就可以用账户名为jack,密码为@jack2018来登录mysql了,运行 select host, user from mysql.user 查看下:
mysql> select host,user from mysql.user;
+-----------+---------------+
| host      | user          |
+-----------+---------------+
| %         | jack         |
| localhost | mysql.session |
| localhost | mysql.sys     |
| localhost | root          |
+-----------+---------------+
4 rows in set (0.00 sec)
三、安装PHP
rpm -Uvh https://dl.fedoraproject.org/pub/epel/epel-release-latest-7.noarch.rpm
rpm -Uvh https://mirror.webtatic.com/yum/el7/webtatic-release.rpm
执行命令安装PHP
yum install php70w.x86_64 php70w-cli.x86_64 php70w-common.x86_64 php70w-gd.x86_64 php70w-ldap.x86_64 php70w-mbstring.x86_64 php70w-mcrypt.x86_64 php70w-mysql.x86_64 php70w-pdo.x86_64
安装php-fpm
yum install php70w-fpm php70w-opcache
启动php-fpm
systemctl start php-fpm
配置nginx配置文件以支持PHP,找到nginx安装目录中nginx.conf文件,增加如下配置
# pass the PHP scripts to FastCGI server listening on 127.0.0.1:9000
location ~ \.php$ {
   fastcgi_pass   127.0.0.1:9000;
   fastcgi_index  index.php;
   fastcgi_param  SCRIPT_FILENAME  $document_root$fastcgi_script_name;
   include        fastcgi_params;
}
下面到/usr/share/nginx/html文件下面创建一个文件
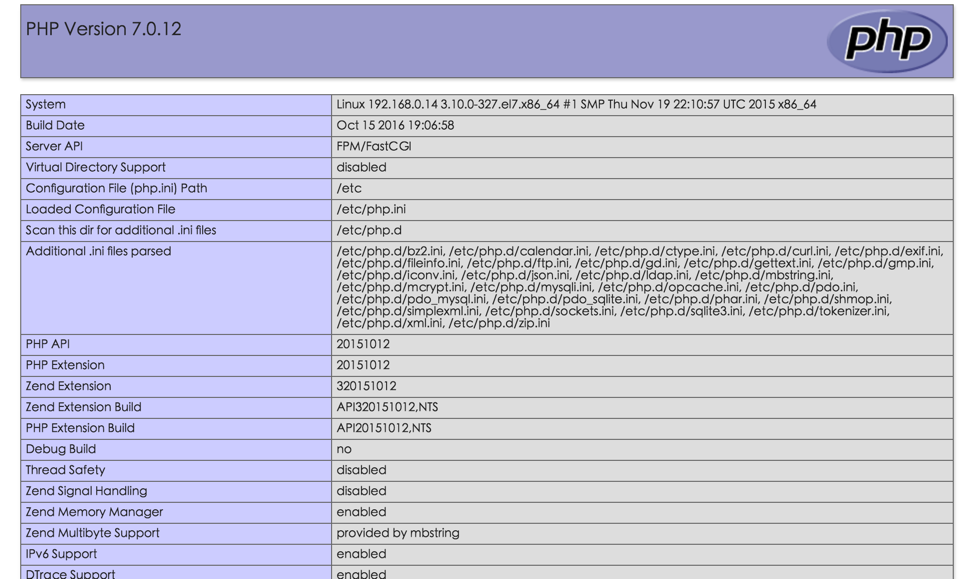
vi /usr/share/nginx/html/info.php

<?php
phpinfo();
?>
打开浏览器,访问 http://公网IP,看到如下页面说明配置成功了