

Cocoapods 一般用来管理第三方库,当我们自己封装了一个功能模块时也可以使用 Cocoapods 发布给其他人使用,以下是我按照官方教程实际操作的流程。
提交到 GitHub
假设我们已经完成了一个功能模块的封装,以 HelloPods 为例。首先,我们要在 GitHub 上创建一个名为 HelloPods 的仓库,接着我们要将本地封装好的代码提交到 GitHub 上。具体操作如下:
- 打开命令行工具 cd 到 HelloPods 目录
- 生成 Readme 文件,
echo "# HelloPods" >> README.md - 初始化 git,
git init - 提交到本地 git,
git add .git commit -m 'commit' - 添加远程仓库,
git remote add origin https://github.com/hiXgb/HelloPods.git - 提交到远程仓库,
git push -u origin master - 添加 tag,
git tag 0.0.1git push --tag
执行完以上操作后我们就成功将代码提交到了 GitHub 上,接下去要做的是发布到 Cocoapods 上。
发布到 Cocoapods
首先,我们执行 pod spec create 生成 HelloPods.podspec 文件,生成的模板文件有大量注释,我们只需要其中一部分内容,整理后的内容如下:
Pod::Spec.new do |spec|
  spec.name             = 'HelloPods'
  spec.version          = '0.0.1'
  spec.license          = { :type => 'MIT' }
  spec.homepage         = 'https://github.com/hiXgb/HelloPods'
  spec.authors          = { 'xgb' => 'xieguobiyi@gmail.com' }
  spec.summary          = "Learn about creating Podspec's and the Spec repo."
  spec.source           = { :git => "https://github.com/hiXgb/HelloPods.git", :tag => "0.0.1" }
  spec.source_files     = '*.{h,m}'
  spec.requires_arc     = true
end
HelloPods.podspec 文件编辑完成后执行 pod spec lint 验证 podspec 文件是否合法,结果如下:

验证通过后需要在 Cocoapods 上注册 trunk,执行
pod trunk register xieguobiyi@gmail.com 'xgb'然后查收邮箱点击链接即可完成注册,注册完成后可以通过 pod trunk me 查询注册信息
然后再执行
pod trunk push HelloPods.podspec --allow-warnings不出意外的话我们能看到如下结果
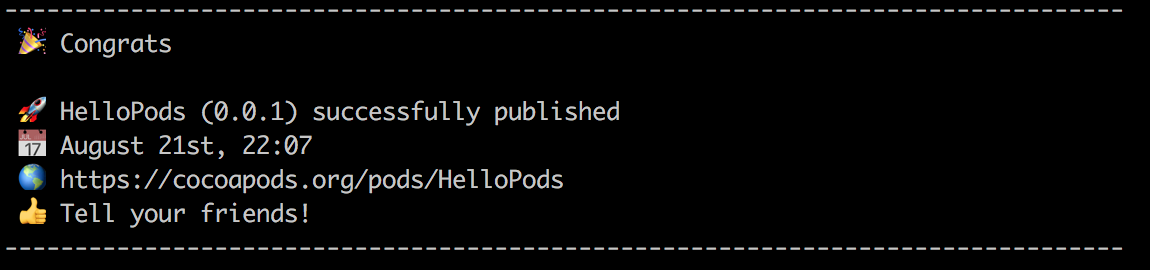
至此我们就完成了库的发布,后续就可以按照其他第三方库一样的用法来使用我们自己的库了~
添加 subspec
如果一个库有多个子模块,我们可以通过添加 subspec 使结构更加清晰。假设 HelloPods 下有两个子模块,一个 Util,一个 Model,我们首先修改 HelloPods.podspec 文件,修改后的内容如下:
Pod::Spec.new do |spec|
spec.name = 'HelloPods'
spec.version = '0.0.3'
spec.license = { :type => 'MIT' }
spec.homepage = 'https://github.com/hiXgb/HelloPods'
spec.authors = { 'xgb' => 'xieguobiyi@gmail.com' }
spec.summary = "Learn about creating Podspec's and the Spec repo."
spec.source = { :git => "https://github.com/hiXgb/HelloPods.git", :tag => "0.0.3" }
spec.source_files = '*.{h,m}'
spec.requires_arc = true
spec.subspec 'Util' do |util|
util.source_files = 'Util/*.{h,m}'
end
spec.subspec 'Model' do |model|
model.source_files = 'Model/*.{h,m}'
end
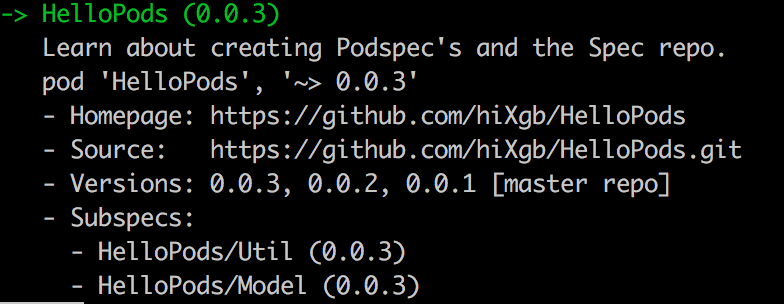
end修改完成后再重复前面的步骤,将子模块都先提交到 GitHub 上,然后修改 tag 为 0.0.3,接着再执行 pod trunk push HelloPods.podspec --allow-warnings 将修改后的内容发布到 Cocoapods trunk 上,发布完成后我们再执行 pod search 'HelloPods' 结果如下:
遇到的问题
swift 版本不对
[!] The validator for Swift projects uses Swift 2.3 by default, if you are using a different version of swift you can use a
.swift-versionfile to set the version for your Pod. For example to use Swift 3.0, run:echo "3.0" > .swift-version.
执行 echo "3.0" > .swift-version 即可解决
没有创建 tag
warning: Could not find remote branch 0.0.1 to clone.
fatal: Remote branch 0.0.1 not found in upstream origin
执行
git tag 0.0.1
git push --tag
podspec 文件配置不对
ERROR | File Patterns: File patterns must be relative and cannot start with a slash (source_files).
这个错误主要是实际文件目录和配置文件里的没有匹配上,需要根据实际项目文件结构具体配置,在上述例子里的配置是
spec.source_files = '*.{h,m}'成功发布到 Cocoapods trunk 上但 pod search 不到
可以依次尝试以下几种方法:
- 清除本地的 Cocoapods 缓存,执行
rm -rf ~/Library/Caches/CocoaPods- 修改 tag 重新发布一遍
- 新建一个测试工程,然后新建 Podfile,其中使用到发布成功的库,执行
pod update
总结
以上就是我跟着教程实际操作的流程和遇到问题的记录,最重要的还是要自己动手操作一遍,希望大家在操作过程中也能有收获,enjoy~
