文章分享至我的个人技术博客: https://cainluo.github.io/14969899245168.html
说点废话
中途因为发生了点事, 所以有一段时间没有写博文了, 现在开始开始慢慢写回, 写的风格也改了一些, 大家不懂得可以去各大博客, 论坛, 等等地方翻翻资料, 如果一定要找我问问题的话, 麻烦先用红包来打一下我, 祝大家学习愉快.
Message
Message是苹果爸爸在iOS 10开放给开发者的库, 虽然说是新的库, 但和在iOS 8所使用的方式差不多, 就是Extension, 我们都知道iOS是封闭系统, 所以就不用抱着会和Android那样的开发.
作为Extension有什么好处咧, 按照官方的说法就是, 既可以保证系统的安全, 又可以独立于App之外, 不必绑定父应用程序的一部分.
这里注明一下, 我这个是Objective-C版本的, 如果要找Swift版本的话, 可以到这里去Swift-Message.
创建项目
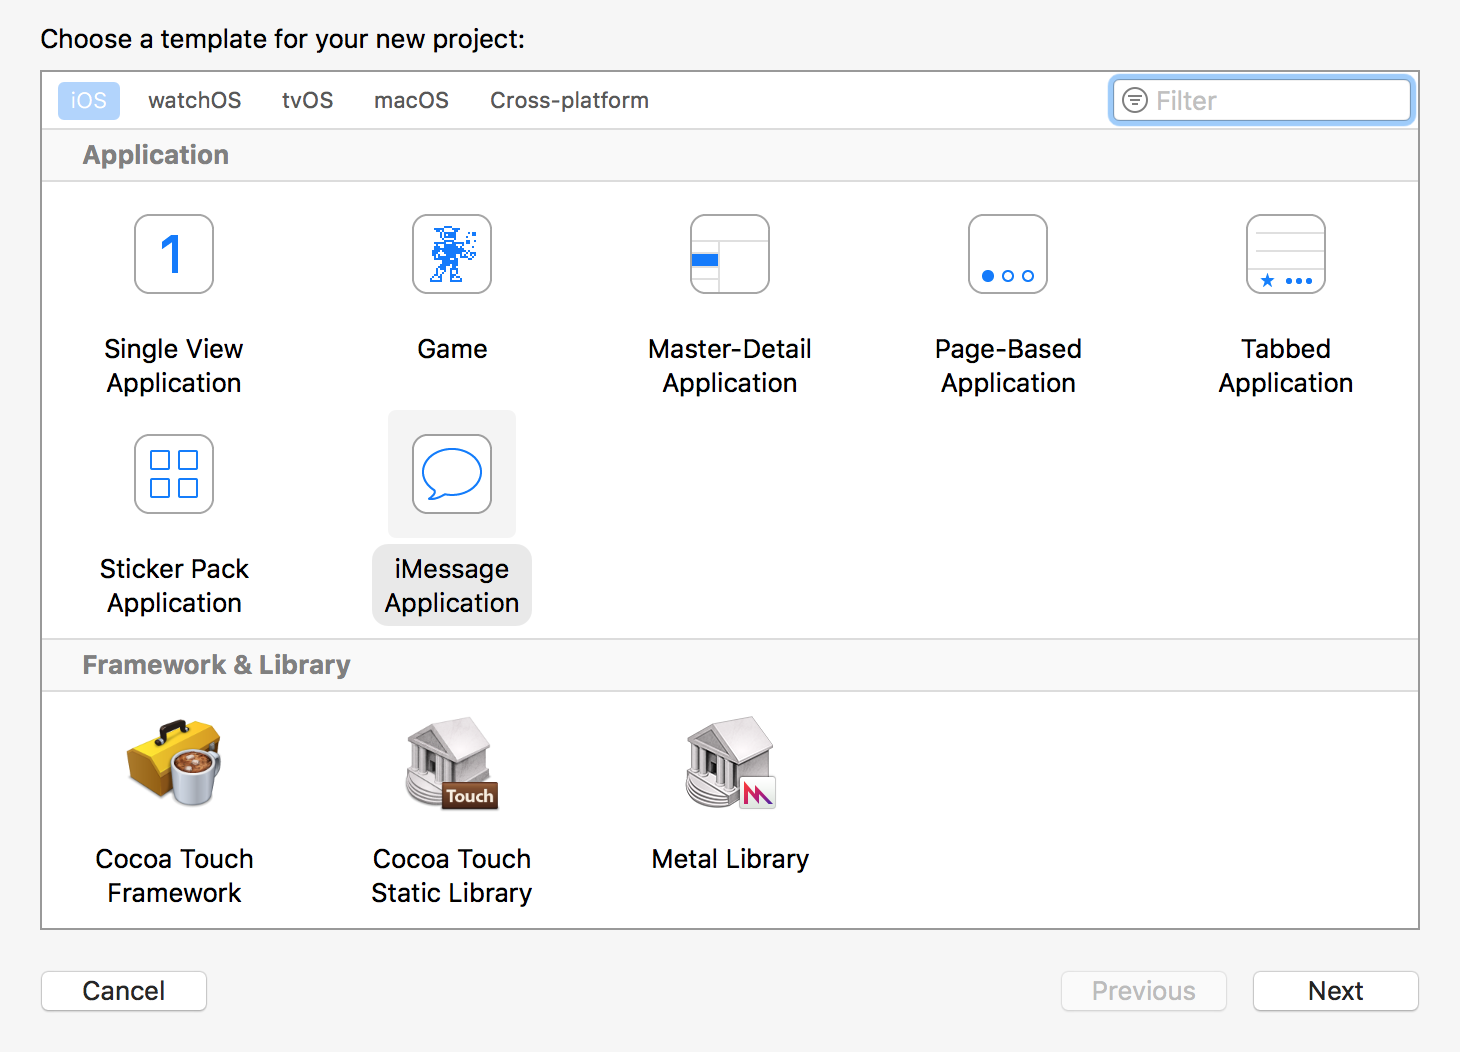
创建Message很简单, 打开Xcode -> New Project -> iMessage Application就搞定了.
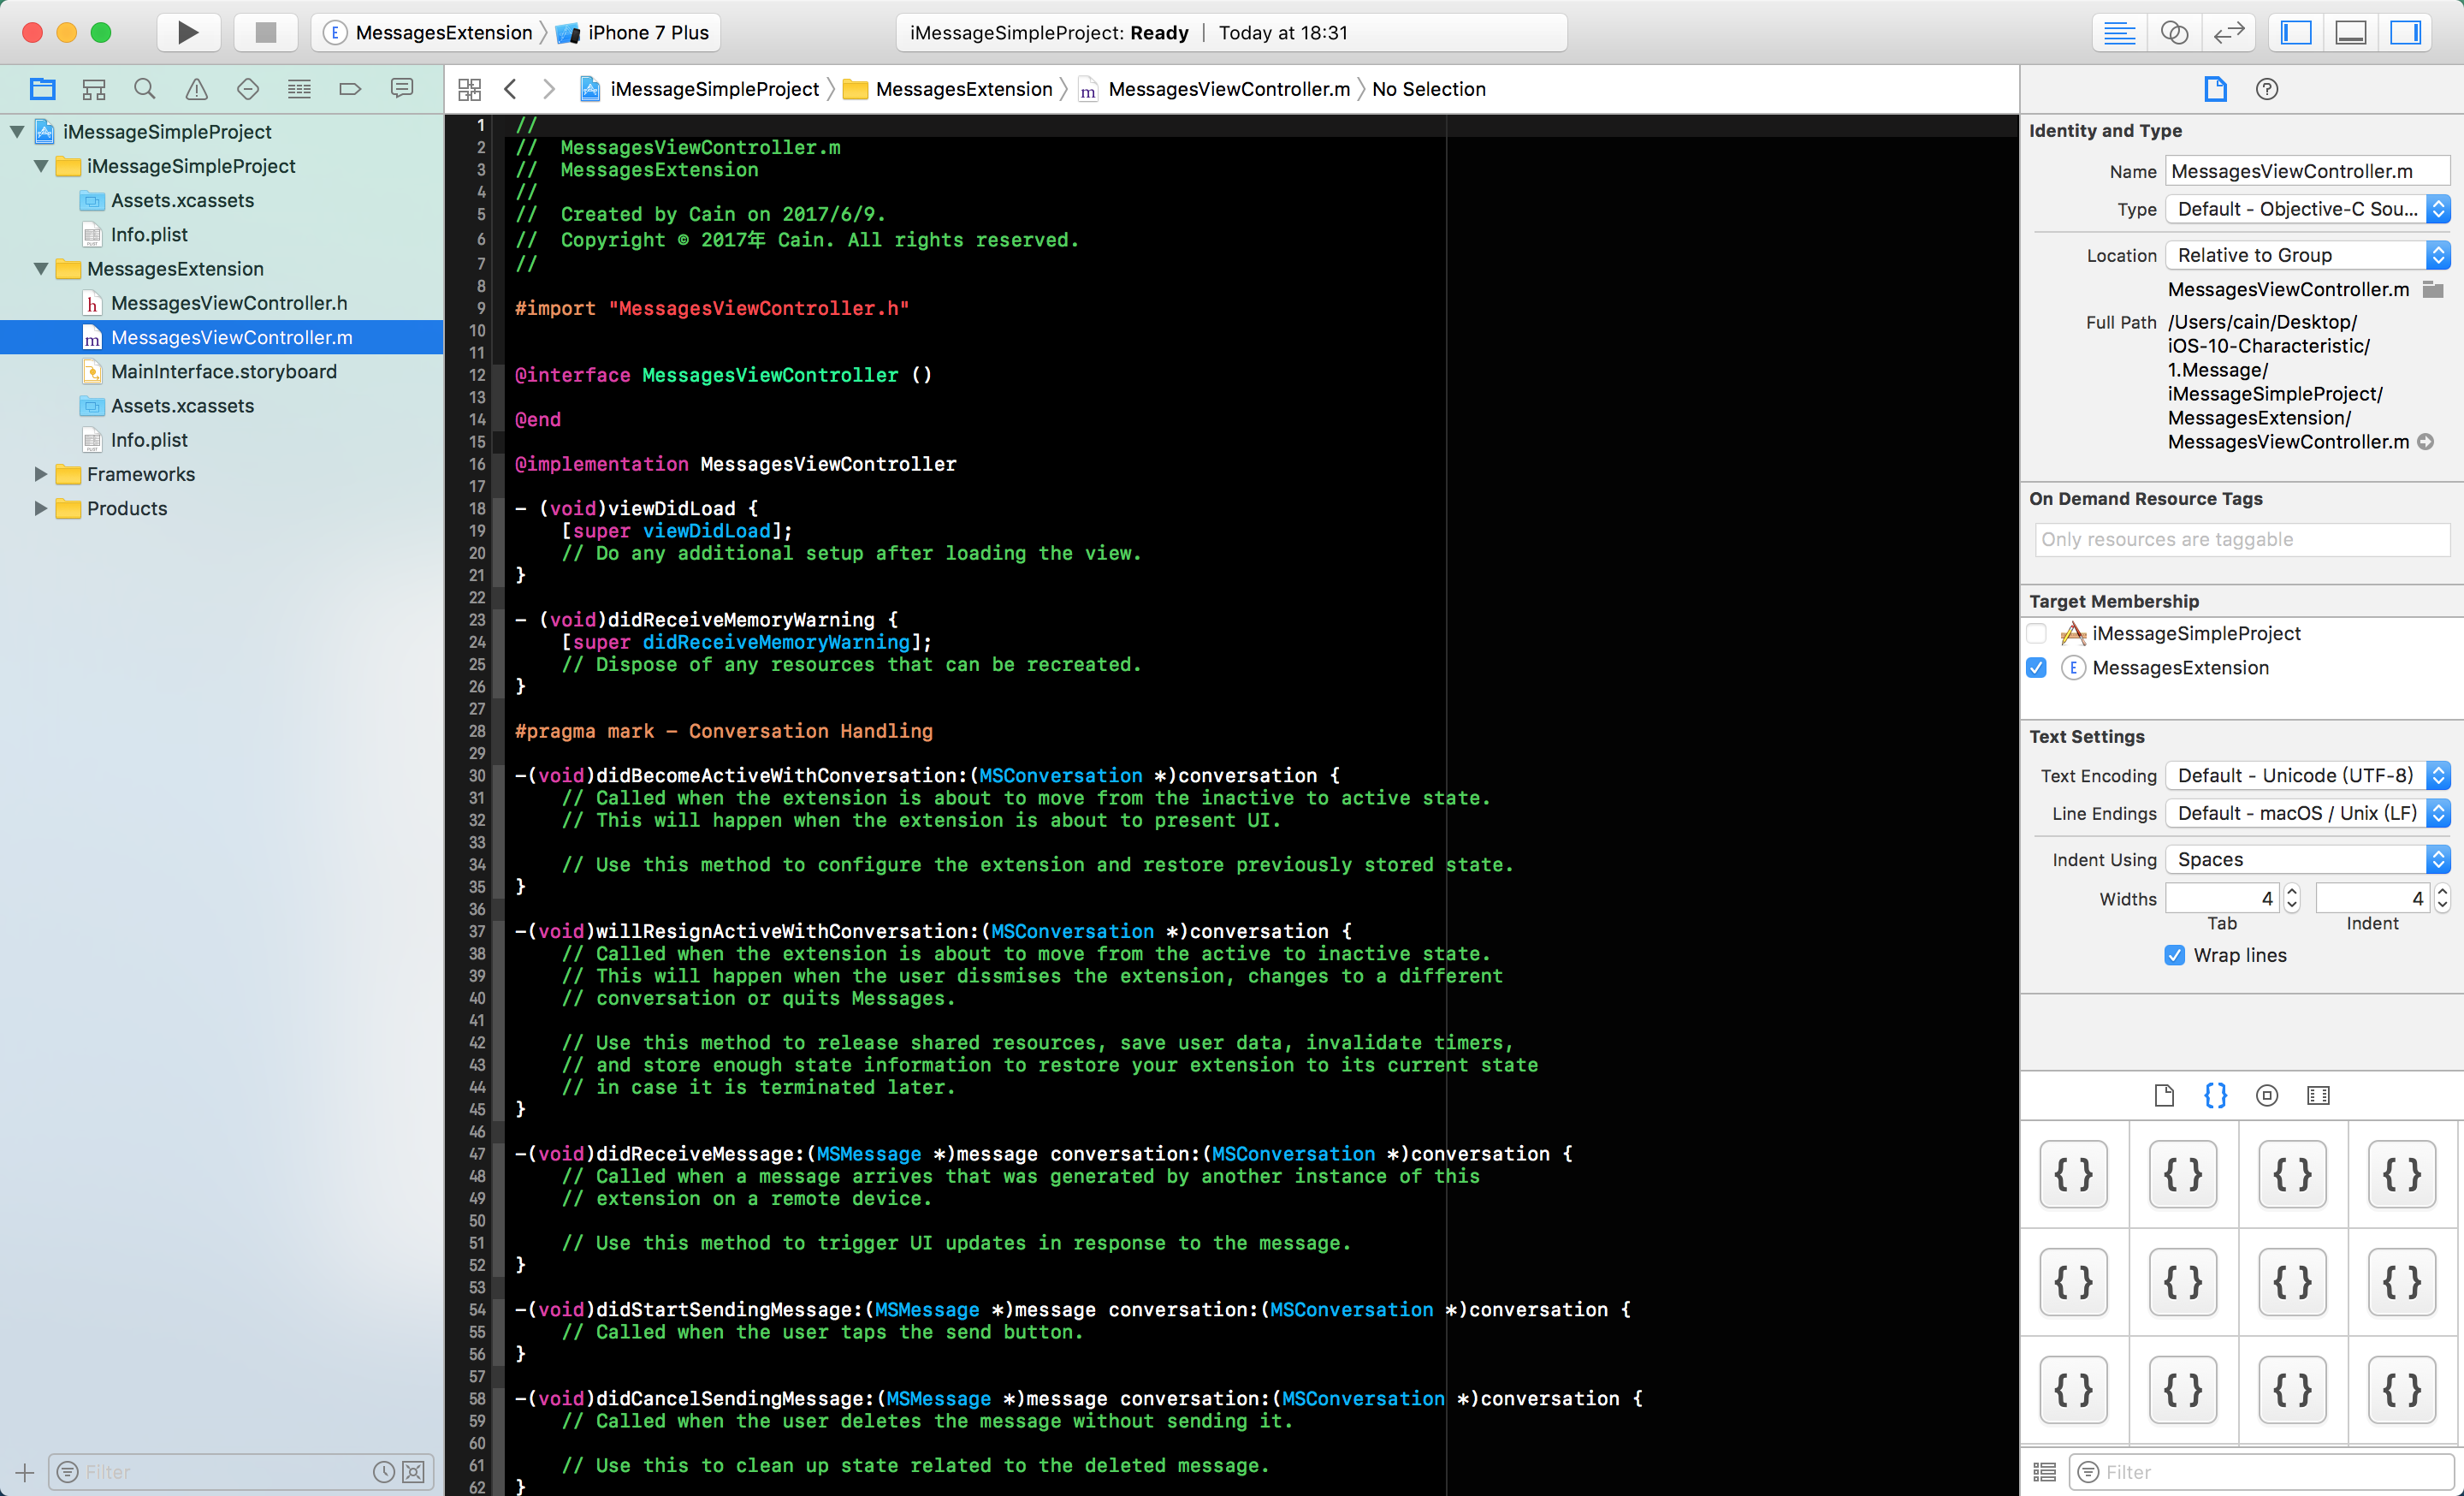
创建完之后, 我们就可以看到一个MessageViewController, 这个是苹果爸爸一开始就给我们弄好的控制器, 我们只需要在上面弄我们所需要的东西就好.
两个重要的方法
这里有两个重要的方法是我们必须知道的
// 当我们即将打开Message Extension的时候, 就会调用这个方法
- (void)willBecomeActiveWithConversation:(MSConversation *)conversation;
// 当我们即将操作Message Extension的时候, 就会调用这个方法, 可以选择不同的样式, 然后决定你的Message Extension的显示方式
-
(void)willTransitionToPresentationStyle:(MSMessagesAppPresentationStyle)presentationStyle;
添加新的控制器
为了可扩展性和低耦合, 我打算把整个Message Extension拆的非常零散, 这个时候就需要好几个Controller去分别管理它们自己的业务逻辑了.
这里顺便加一个第三方的库Masonry, 感谢Masonry作者的无私奉献~~
我这个Demo里一共有三个自己创建的控制器, 分别是MessageStartController, MessageFinishController, MessageChangeController
由于只是简单的演示, 所以这边就不弄的那么复杂了, 详细的代码自己可以去看看, 也很简单.
MessagesViewController
回到我们的MessagesViewController, 这里主要讲讲我的代码:
/**
 Configure ChildController

 @param presentationStyle MSMessagesAppPresentationStyle
 @param conversation MSConversation
 */
- (void)configureChildViewControllerWithPresentationStyle:(MSMessagesAppPresentationStyle)presentationStyle
                                             conversation:(MSConversation *)conversation {

    // 清除所有的自控制器
    for (UIViewController *childController in self.childViewControllers) {

        [childController willMoveToParentViewController:nil];
        [childController.view removeFromSuperview];
        [childController removeFromParentViewController];
    }

    switch (presentationStyle) {
        case MSMessagesAppPresentationStyleCompact:

            self.childViewController = [self createMessageStartController];

            break;
        case MSMessagesAppPresentationStyleExpanded:{

            MSMessage *message = conversation.selectedMessage;

            if (message) {

                self.childViewController = [self createChangeControllerWithConversation:conversation];

            } else {
                self.childViewController = [self createFinishControllerWithConversation:conversation];
            }
        }
            break;
        default:
            break;
    }

    // 添加子控制器
    [self addChildViewController:self.childViewController];

    [self.view addSubview:self.childViewController.view];

    [self.childViewController.view mas_makeConstraints:^(MASConstraintMaker *make) {
        (void)make.edges;
    }];

    [self.childViewController didMoveToParentViewController:self];
}
之前也说过, 为了灵活性和低耦合, 上面那个方法就是用来添加和删除子控制器的.
- (void)willBecomeActiveWithConversation:(MSConversation *)conversation {

    [self configureChildViewControllerWithPresentationStyle:self.presentationStyle
                                               conversation:conversation];
}

-(void)willTransitionToPresentationStyle:(MSMessagesAppPresentationStyle)presentationStyle {

    [self configureChildViewControllerWithPresentationStyle:presentationStyle
                                               conversation:self.activeConversation];
}
上面这两个方法就是在Message Extension在切换不同样式的时候, 去调用configureChildViewControllerWithPresentationStyle:方法, 来达到在不同样式下可以切换不同的子控制器.
/**
 Configure Message Start Controller

 @return UIViewController
 */
- (UIViewController *)createMessageStartController {

    MessageStartController *childController = [[MessageStartController alloc] init];

    [childController setMessageStartBloack:^(UIButton *sender){

        [self requestPresentationStyle:MSMessagesAppPresentationStyleExpanded];
    }];

    return childController;
}

/**
 Configure Message Finish Controller

 @return UIViewController
 */
- (UIViewController *)createFinishControllerWithConversation:(MSConversation *)conversation {

    MessageFinishController *finishController = [[MessageFinishController alloc] init];

    [finishController setMessageFinishBloack:^(UIButton *sender){

        MSSession *session = [[MSSession alloc] init];

        NSString *player = [NSString stringWithFormat:@"%@ - 是否要发送这条内容?", conversation.localParticipantIdentifier];

        [self insertMessageWithCaption:player
                               session:session
                                 image:[UIImage ms_getImageForView:self.view]
                          conversation:conversation];

        [self dismiss];
    }];

    return finishController;
}

/**
 Configure Message Change Controller

 @return UIViewController
 */
- (UIViewController *)createChangeControllerWithConversation:(MSConversation *)conversation {

    MessageChangeController *changeViewController = [[MessageChangeController alloc] init];

    [changeViewController setMessageChangeBloack:^(UIButton *sender){

        MSMessage *message = conversation.selectedMessage;

        if (message) {

            MSSession *session = [message session];

            NSString *player = [NSString stringWithFormat:@"%@ - 是否要发送更改后的内容?", conversation.localParticipantIdentifier];

            [self insertMessageWithCaption:player
                                   session:session
                                     image:[UIImage ms_getImageForView:self.view]
                              conversation:conversation];
        }

        [self dismiss];
    }];

    return changeViewController;
}
上面这三个方法就是用来配置MessageStartController, MessageFinishController, MessageChangeController三个控制器.
重点
这里需要重点讲一个方法:
/**
 把内容插入到Message中

 @param caption NSString
 @param session MSSession
 @param image UIImage
 @param conversation MSConversation
 */
- (void)insertMessageWithCaption:(NSString *)caption
                         session:(MSSession *)session
                           image:(UIImage *)image
                    conversation:(MSConversation *)conversation {

    MSMessage *message = [[MSMessage alloc] initWithSession:session];
    MSMessageTemplateLayout *templateLayout = [[MSMessageTemplateLayout alloc] init];

    templateLayout.caption = caption;
    templateLayout.image = image;

    message.layout = templateLayout;
    message.URL = [NSURL URLWithString:@"http://www.baidu.com"];

    [conversation insertMessage:message
              completionHandler:nil];
}
这个方法, 可以把我们想要内容插入到Message Extension中, 然后发送出去.
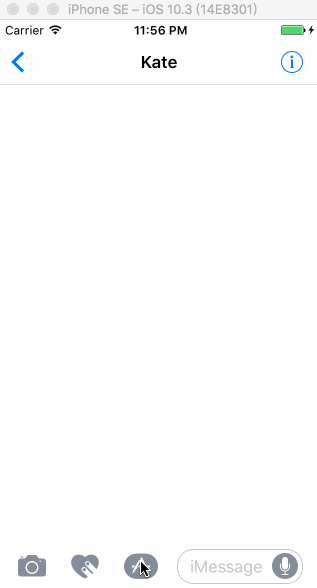
最终效果
工程地址
项目地址: https://github.com/CainRun/iOS-10-Characteristic/tree/master/1.Message
最后
码字很费脑, 看官赏点饭钱可好