

github地址:LikeWeChatSwitchButton
首先我们来看一下微信中switchButton的效果, 就是下图那个样子, 打开微信玩一下就知道了。
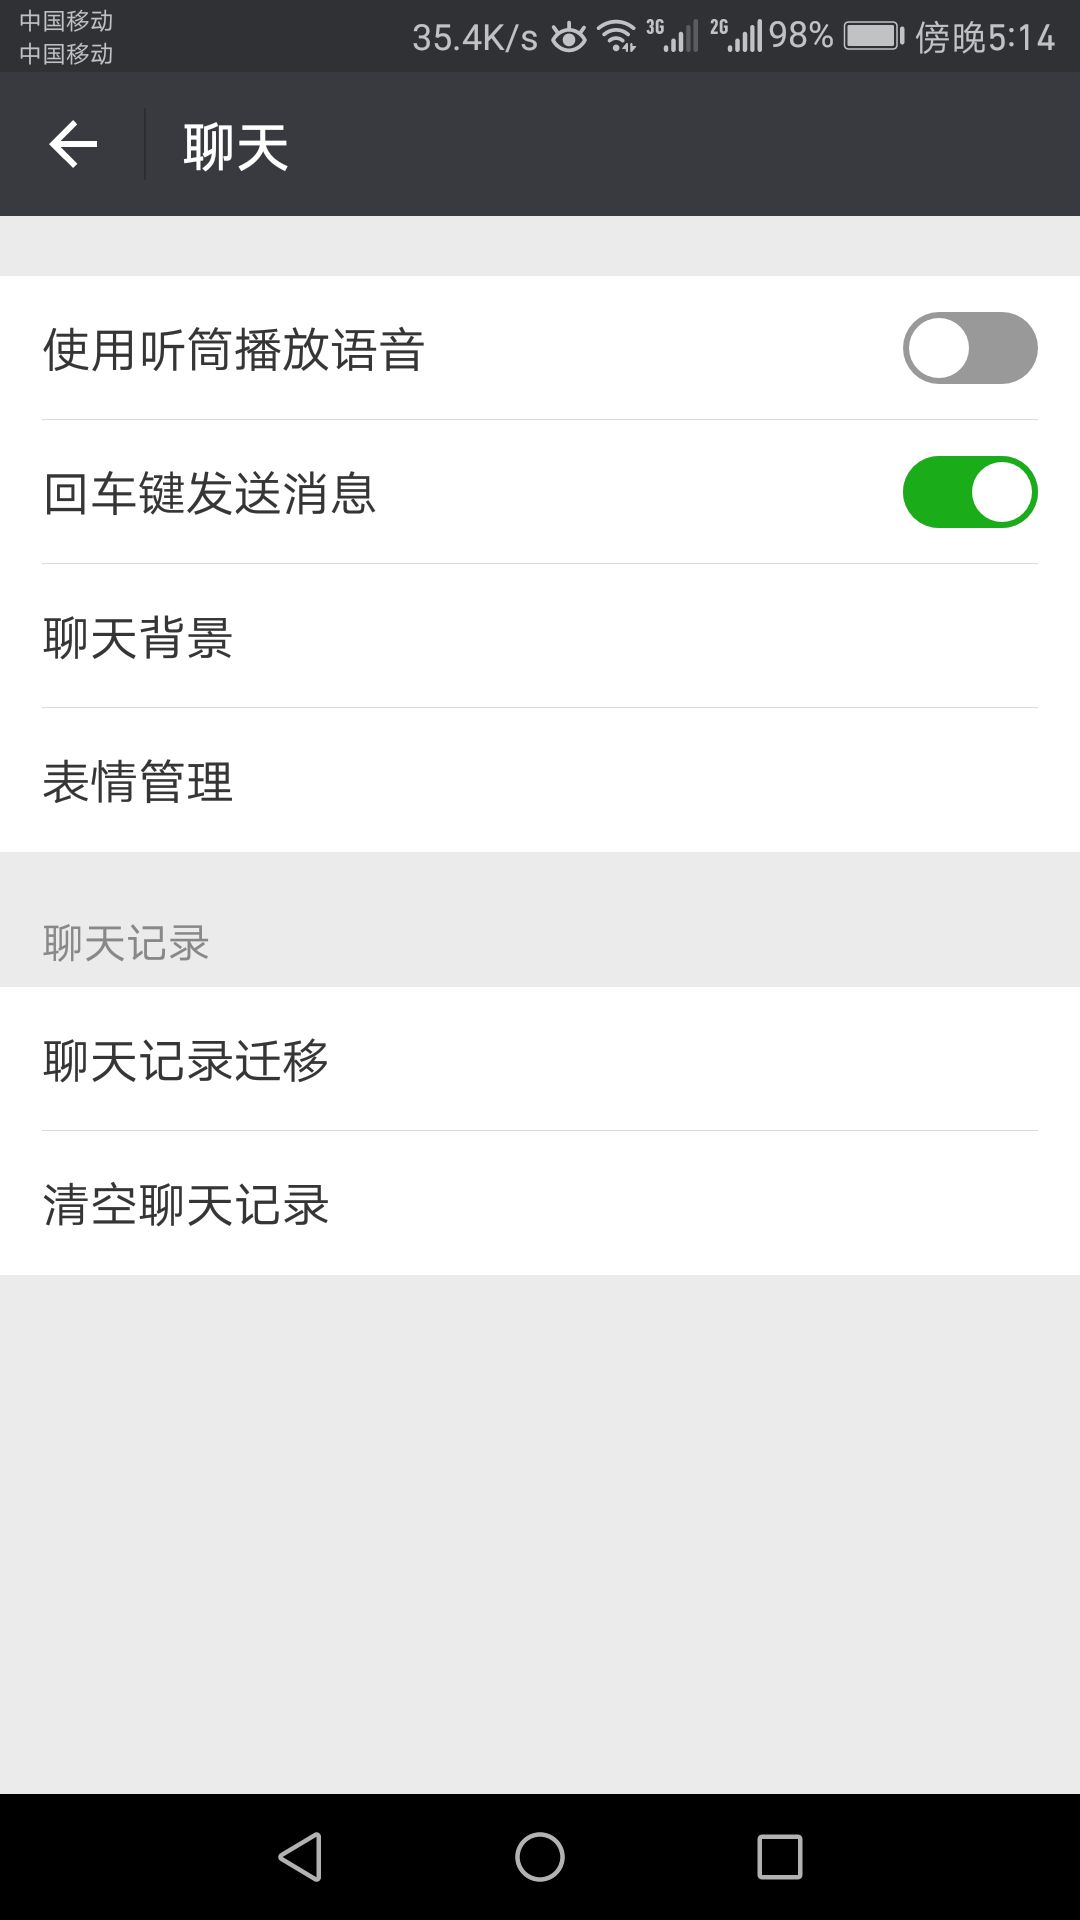
Screenshot_20170404-171429.png
惯例, 先上实现的效果
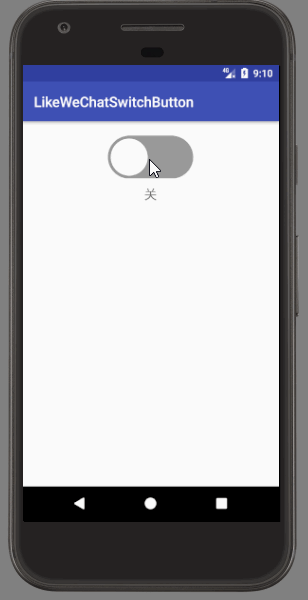
switchbutton.gif
接下来, 我就说明如何一步步实现这个效果控件。
1.定义背景和中间圆球的颜色
    public class SwitchButton extends View {

        public SwitchButton(Context context) {
            this(context, null);
        }

        public SwitchButton(Context context, @Nullable AttributeSet attrs) {
            this(context, attrs, 0);
        }

        public SwitchButton(Context context, @Nullable AttributeSet attrs, int defStyleAttr) {
            super(context, attrs, defStyleAttr);
            TypedArray typedArray = context.getTheme().obtainStyledAttributes(attrs, R.styleable.SwitchView, defStyleAttr, R.style.def_switch_view);
            int indexCount = typedArray.getIndexCount();
            for (int i = 0; i < indexCount; i++) {
                int attr = typedArray.getIndex(i);
                switch (attr) {
                    case R.styleable.SwitchView_switch_bg_color:
                        //背景颜色
                        switchViewBgColor = typedArray.getColor(attr, Color.BLACK);
                        break;
                    case R.styleable.SwitchView_switch_ball_color:
                        //圆球颜色
                        switchViewBallColor = typedArray.getColor(attr, Color.BLACK);
                        break;
                }
            }
            typedArray.recycle();
            initData();
        }
    }
在这里, 背景颜色和圆球颜色是从自定义属性中取的, 如果没有定义, 就取默认的颜色。
2.初始化一些东西, 比如创建两个画笔
    private void initData() {
        mBallPaint = createPaint(switchViewBallColor, 0, Paint.Style.FILL, 0);
        mBgPaint = createPaint(switchViewBgColor, 0, Paint.Style.FILL, 0);
        ...
    }
3.在onSizeChanged方法里定义一些长度和宽度
    @Override
    protected void onSizeChanged(int w, int h, int oldw, int oldh) {
        mViewHeight = h;
        mViewWidth = w;

        //    默认描边宽度是控件宽度的1/30, 比如控件宽度是120dp, 描边宽度就是4dp
        switchViewStrockWidth = w * 1.0f / 30;

        mStrokeRadius = mViewHeight / 2;
        mSolidRadius = (mViewHeight - 2 * switchViewStrockWidth) / 2;
        BALL_X_RIGHT = mViewWidth - mStrokeRadius;


        mSwitchBallx = mStrokeRadius;
        mBgStrokeRectF = new RectF(0, 0, mViewWidth, mViewHeight);

    }
在这里, 定义了圆球的半径, 圆球中心的初始x坐标, 和用来画圆角矩形的矩形, 特别注意这里的switchViewStrockWidth指的是如下图这段
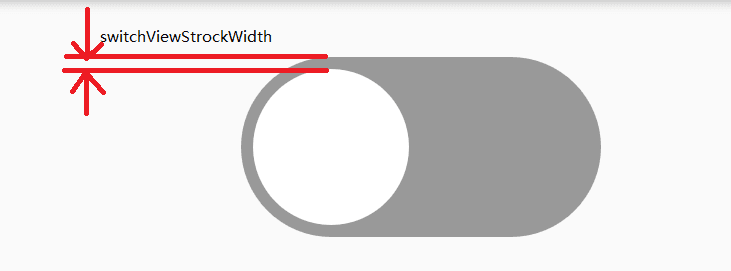
Paste_Image.png
4.在onMeasure方法里定义控件的宽度和高度
    @Override
    protected void onMeasure(int widthMeasureSpec, int heightMeasureSpec) {
        super.onMeasure(widthMeasureSpec, heightMeasureSpec);
        int widthMode = MeasureSpec.getMode(widthMeasureSpec);
        int heightMode = MeasureSpec.getMode(heightMeasureSpec);

        int measureWidth;
        int measureHeight;

        switch (widthMode) {
            case MeasureSpec.UNSPECIFIED:
            case MeasureSpec.AT_MOST://wrap_content
                measureWidth = (int) TypedValue.applyDimension(TypedValue.COMPLEX_UNIT_DIP, DEF_W, getResources().getDisplayMetrics());
                widthMeasureSpec = MeasureSpec.makeMeasureSpec(measureWidth, MeasureSpec.EXACTLY);
                break;
            case MeasureSpec.EXACTLY:
                break;
        }

        switch (heightMode) {
            case MeasureSpec.UNSPECIFIED:
            case MeasureSpec.AT_MOST://wrap_content
                measureHeight = (int) TypedValue.applyDimension(TypedValue.COMPLEX_UNIT_DIP, DEF_H, getResources().getDisplayMetrics());
                heightMeasureSpec = MeasureSpec.makeMeasureSpec(measureHeight, MeasureSpec.EXACTLY);
                break;
            case MeasureSpec.EXACTLY:
                break;

        }
        super.onMeasure(widthMeasureSpec, heightMeasureSpec);
    }
这里默认高是60dp, 高是120dp, 自己定义时最好也按照这个比例, 否则会显得不和谐
5.这里是最重要的, 在onDraw方法里画背景和圆球
    @Override
    protected void onDraw(Canvas canvas) {
        drawSwitchBg(canvas);
        drawSwitchBall(canvas);
    }

    private void drawSwitchBall(Canvas canvas) {
        canvas.drawCircle(mSwitchBallx, mStrokeRadius, mSolidRadius, mBallPaint);
    }

    private void drawSwitchBg(Canvas canvas) {
        canvas.drawRoundRect(mBgStrokeRectF, mStrokeRadius, mStrokeRadius, mBgPaint);
    }
到这里的时候, 就能看到画好的背景和圆球了, 但却是静态的, 还不能动
6.定义枚举变量, 用来记录开关的状态
    private enum State {
        OPEN, CLOSE
    }

    private State mCurrentState;
7.当button被点击时, 改变圆球的x坐标和背景画笔的颜色, 调用invalidate重绘界面
设置点击事件
    private void initData() {
        ...
        setOnClickListener(this);
    }
在 onClick方法里
    @Override
    public void onClick(View v) {
        mCurrentState = (mCurrentState == State.CLOSE ? State.OPEN : State.CLOSE);
        //绿色    #1AAC19
        //灰色    #999999
        if (mCurrentState == State.CLOSE) {
            animate(BALL_X_RIGHT, mStrokeRadius, greenColor, greyColor);
        } else {
            animate(mStrokeRadius, BALL_X_RIGHT, greyColor, greenColor);
        }
        if (mOnCheckedChangeListener != null) {
            if (mCurrentState == State.OPEN) {
                mOnCheckedChangeListener.onCheckedChanged(this, true);
            } else {
                mOnCheckedChangeListener.onCheckedChanged(this, false);
            }
        }
    }


    private void animate(int from, int to, int startColor, int endColor) {
        ValueAnimator translate = ValueAnimator.ofFloat(from, to);
        translate.addUpdateListener(new ValueAnimator.AnimatorUpdateListener() {
            @Override
            public void onAnimationUpdate(ValueAnimator animation) {
                mSwitchBallx = ((float) animation.getAnimatedValue());
                postInvalidate();
            }
        });

        ValueAnimator color = ValueAnimator.ofObject(new ColorEvaluator(), startColor, endColor);
        color.addUpdateListener(new ValueAnimator.AnimatorUpdateListener() {
            @Override
            public void onAnimationUpdate(ValueAnimator animation) {
                switchViewBgColor = ((int) animation.getAnimatedValue());
                mBgPaint.setColor(switchViewBgColor);
                postInvalidate();
            }
        });

        AnimatorSet animatorSet = new AnimatorSet();
        animatorSet.playTogether(translate, color);
        animatorSet.setDuration(200);
        animatorSet.addListener(new AnimatorListenerAdapter() {
            @Override
            public void onAnimationStart(Animator animation) {
                setClickable(false);
            }

            @Override
            public void onAnimationEnd(Animator animation) {
                setClickable(true);
            }
        });
        animatorSet.start();
    }
需要说明的是, 这里的难点在于如何让圆球和x坐标在指定时间内圆滑地变换到另一个值, 以及如何让颜色如何从灰色圆滑地变换到绿色。这里我使用的是值动画(因为暂时没有想到更好的方法)。坐标值的变换比较简单。颜色变化这里, 需要注意用到了一个颜色的插值器, 因为如果用属性动画的ofArgb方法只能在高版本使用, 低版本是不能使用这个方法的
    public class ColorEvaluator implements TypeEvaluator {

        @Override
        public Object evaluate(float fraction, Object startValue, Object endValue) {
            int startInt = (Integer) startValue;
            int startA = (startInt >> 24) & xff;
            int startR = (startInt >> 16) & xff;
            int startG = (startInt >> 8) & xff;
            int startB = startInt & xff;

            int endInt = (Integer) endValue;
            int endA = (endInt >> 24) & xff;
            int endR = (endInt >> 16) & xff;
            int endG = (endInt >> 8) & xff;
            int endB = endInt & xff;

            return (int) ((startA + (int) (fraction * (endA - startA))) << 24) |
                (int) ((startR + (int) (fraction * (endR - startR))) << 16) |
                (int) ((startG + (int) (fraction * (endG - startG))) << 8) |
                (int) ((startB + (int) (fraction * (endB - startB))));
        }
    }
8.暴露接口获取开关的状态
这里我就不贴代码了, 很简单的
总的来说, 还是挺简单的, 也就200多行代码。参考demo: ATDragViewDemo
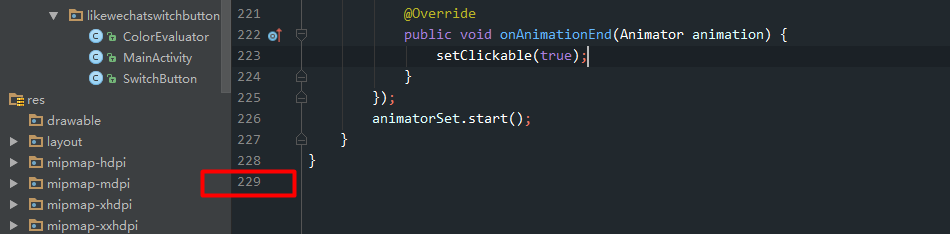
Paste_Image.png
