

原创声明: 该文章为原创文章,未经博主同意严禁转载。
摘要: 在上一篇文章中我们讨论了关于如何对普通的数据请求进行封装,对MVP模式进行优化。而在实际项目中,除了普通的数据外,一般我们还有列表型的数据,列表型的数据和普通的数据的主要区别是:列表型的数据需要分页获取。在实际项目中,我们一般获取分页型的数据时需要向服务器发送页码和一页的数据条数这两个数据。我们可以通过对列表型的Presenter进行封装,把大部分列表型数据需要处理的时间自动处理好。
封装列表型的Presenter基类
有了上一篇文章的铺垫我们知道,在MVP模式中Model的主要作用就是向服务器发起请求然后把服务器返回的数据交给Presenter处理就可以了。所以在封装列表型Presenter的时候,直接沿用了上一章提到的BaseModel来获取数据与回调数据。在这里要注意的一点就是,笔者在开发这个框架的时候,对部分类名有部分改动,一切以系列文章结束时提供的完善的框架为准。
下面我们来看看列表型Presenter的接口与实际实现
public interface IBasePaginationPresenter extends IBasePresenter {

    //刷新全部数据
    void refresh(Params params);

    //加载下一页数据
    void loading();

    /
      @Method: refreshAssignPage
      @author create by Tang
      @date date 16/10/19 上午11:07
      @Description: 刷新index所在页页面
      @param index 待刷新数据的位置
     /
    void refreshIndexPage(int index);

    //设置一次取数据数量
    void setCount(int count);

    void accessServer();

}
从上面的代码可以看出,IBasePaginationPresenter\接口是在IBasePresenter的基础上进行拓展的,拓展的方法是关于处理列表型数据的一些方法。
/**
 * @ClassName: BasePaginationPresenter
 * @author create by Tang
 * @date date 16/9/29 下午2:14
 * @Description:
 * @Params: 请求参数类(http中的params)
 * @Bean: 返回队列的数据项实体类(bean中的实体类)
 */
public abstract class BasePaginationPresenter
        implements IBasePaginationPresenter {

    public abstract void serverResponse(List list);

    private IMvpListView baseView;
    private IBaseModel baseModel;
    private Params mParams;

    //默认一次去数据为ServerManager.COUNT
    private int mCount = ServerManager.COUNT;

    //需要刷新的数据项位置
    private int mIndex = -1;

    //需要刷新的页码(根据mIndex计算)
    private int mPage;

    private List dataList = new ArrayList<>();


    private Class clazz;

    /**
     * @Method: BasePaginationPresenter
     * @author create by Tang
     * @date date 16/10/20 上午10:18
     * @Description: 构造方法
     * @param clazz 队列参数项的类型,不能为空
     */
    protected BasePaginationPresenter(@NonNull IMvpListView baseView, @NonNull Class clazz){
        this.baseView = baseView;
        this.baseModel = new BaseModel(this);
        this.clazz = clazz;
    }


    @Override
    public void refresh(Params params) {
        this.mParams = params;
        dataList.clear();
        loading();
    }

    @Override
    public void loading() {
        if (mParams == null){
            mParams = (Params) new BasePaginationParams();
            mParams.count = mCount;
            mParams.page = (int) Math.ceil((double)
                    dataList.size()  1.0 / mCount) + 1;
        }else {
            mParams.count = mCount;
            mParams.page = (int) Math.ceil((double)
                    dataList.size()  1.0 / mCount) + 1;
        }

        accessServer();
    }

    @Override
    public void refreshIndexPage(int index) {
        if (index > dataList.size()){
            //如果index超出数组长度则加载下一页
            loading();
        }else {
            /
              注需要根据服务器实际情况来计算
              这里假设服务器第一页数据的下标为1
              如果下表为0,mPage = index / mCount;
             /
            mIndex = index;
            mPage = index / mCount + 1;
            if (mParams == null){
                mParams = (Params) new BasePaginationParams();
                mParams.count = mCount;
                mParams.page = mPage;
            }else {
                mParams.count = mCount;
                mParams.page = mPage;
            }
        }
        accessServer();
    }


    @Override
    public void setCount(int count) {
        this.mCount = count;
    }


    @Override
    public Map getParams() {

        if (mParams != null){
            LogUtil.d(getClass(), "getParams: " + mParams.toString());
            return mParams.toMap();
        }else {
            return null;
        }

    }

    @Override
    public IBaseModel getModel(){
        return baseModel;
    }


    @Override
    public void accessServer() {
        baseView.showProgress(true);
        /**
         * 如果上一次请求没有完成,需要取消上次一次请求
         *  这样处理是为了防止获取的列表数据出错
         */
        cancelRequest();
        baseModel.sendRequestToServer();
    }

    /**
     * @Method: accessServer
     * @author create by Tang
     * @date date 16/10/19 下午3:56
     * @Description:
     * 在获取队列型中数据中弃用该方法,
     * 参数通过Refresh(Params params)方法传入
     */
    @Deprecated
    @Override
    public void accessServer(Params params) {

    }

    @Override
    public void accessSucceed(JSONObject response) {
        String responseStr = String.valueOf(response);
        baseView.showProgress(false);
        ParameterizedType parameterized = ClassTypeUtil.type(BasePaginationResponse.class
                , ClassTypeUtil.type(List.class,clazz));
        Type type = $Gson$Types.canonicalize(parameterized);
        BasePaginationResponse> mResponse = new Gson().fromJson(responseStr, type);

        if (mResponse.errNum == 0){
            if (mIndex < 0){
                dataList.addAll(mResponse.data);
                baseView.isNextPage(mResponse.nextPage);
            }else {
                //计算出需要替换的第一个数据在dataList中的位置
                int start = (mPage - 1)  mCount;
                ListUtils.replaceAssign(start,dataList,mResponse.data);
                mIndex = -1;
            }
            serverResponse(dataList);
        }else {
            baseView.showServerError(mResponse.errNum,mResponse.errMsg);
        }


    }


    @Override
    public void volleyError(int errorCode, String errorDesc, String ApiInterface) {
        baseView.showNetworkError(errorCode,errorDesc,ApiInterface);
    }

    @Override
    public void cancelRequest() {
        baseModel.cancelRequest();
    }

}
代码很简单,在BasePaginationPresenter中IBasePresenter接口实现和BasePresenter中的差不多的,笔者下面对其中的几个方法着重讲解下。
- accessServer() :这个方法负责通知Model层向服务器发起请求的,因为在获取列表型数据的时候,请求参数由
refresh(Params params)传入,所以可以看到accessServer(Params params) 已经被弃用了。 - refresh(Params params):这个方法是刷新列表数据的,实际向服务器发起获取数据请求的还是loading方法。dataList是用来存储已获取数据的,在调用此方法钱需要调用List的clear()方法清空缓存。
- loading():加载数据方法,通知Model层向服务器发起加载数据请求。该方法实现了自动计算分页数据。
- refreshIndexPage(): 局部刷新方法,通过传入待刷新的数据项的位置计算出待刷新页面后,调用
accessServer ()方法刷新具体页面。 - setCount(int count): 设置一次获取数据量,count有个默认值。如果需要重设该值的话,可以调用该方法设置。该方法在presenter中只能调用一次(调用多次会出现获取数据错误)。
IMvpListView
public interface IMvpListView extends IBaseMvpView {

    /**
     * @Method: isNextPage
     * @author create by Tang
     * @date date 16/10/20 下午5:56
     * @Description: 设置列表数据
     * @param nextPage 是否有下一页,大于0为有
     */
    void isNextPage(int nextPage);

}
这个接口是针对于列表型数据设计的一个View接口,增加了一个isNextPage(int nextPage)方法。主要功能是用于判断是否还有下一页的,具体需要根据业务来设计该方法。该方法的主要作用时用于在使用上拉加载前的一个判断。如果服务器还有未加载完的数据,则在view层开启上拉加载功能,否则则关闭上拉加载功能。
本节小结
由于有上一篇的 铺垫,所以对BasePaginationPresenter的介绍就到这里了。下面我们来看一下具体的实现例子。
实际使用例子
在这里,笔者使用的是百度api store上的接口来进行测试的。由于百度api store上的接口的设计都有一定的区别,所以读者在使用框架的时候要根据实际情况来使用。如果有问题的话,可以在blog下方留言,笔者我尽量解答提出的问题的。在实际使用中主要需要注意的是:BaseResponse 和 BasePaginationResponse这两个数据解析类。笔者在测试百度接口的时候发现,百度的接口实际上是不支持POST请求的。所以我们只能按照百度的方法在接口路径上带上传递的参数用GET方法发起请求。准备工作:申请一个百度api的key,然后在volley的getHeaders() 方法中设置请求头。如下所示
@Override
public Map getHeaders() throws AuthFailureError {
    Map header = new HashMap<>();
    //设置百度api store请求头
    header.put("apikey","");
    return header;
}
嗯,没错,笔者发现apikey为空的话,并不影响接口的使用。所以让它空着好了。
百度api的服务器地址是"http://apis.baidu.com
百度天气接口
这个接口是一个根据城市名称来查询该城市天气的接口。接口的定义为:
public static final String WEATER = "/apistore/weatherservice/cityname?cityname=北京";
IWeatherView
public interface IWeatherView extends IMvpView {

    void showWeatherView(WeatherBean data);
}
IWeatherView只有一个showWeatherView()方法,它的作用是把Presenter处理好的数据传递到View层。
WeatherBean
天气实体类
public class WeatherBean {

    //城市
    public String city;
    //城市拼音
    public String pinyin;
    //城市编码
    public String citycode;
    //日期
    public String date;
    //发布时间
    public String time;
    //邮编
    public String postCode;
    //经度
    public String longitude;
    //维度
    public String latitude;
    //海拔
    public String altitude;
    //天气情况
    public String weather;
    //气温
    public String temp;
    //最低气温
    public String l_tmp;
    //最高气温
    public String h_tmp;
    //风向
    public String WD;
    //风力
    public String WS;
    //日出时间
    public String sunrise;
    //日落时间
    public String sunset;

}
WeatherPresenter
public class WeatherPresenter extends BasePresenter {

    private IWeatherView weatherView;

    public WeatherPresenter(IWeatherView weatherView) {
        super(weatherView,WeatherBean.class);
        this.weatherView = weatherView;
        getModel().setApiInterface(ApiInterface.WEATER);
    }

    @Override
    public void serverResponse(WeatherBean data) {
        weatherView.showWeatherView(data);
    }
}
我们可以看到WeatherPresenter的实现十分简单,按照前面我们的理论,只需要写完WeatherPresenter就可以实现获取北京的天气数据了。下面我们来测试一下。
在Activity中使用WeatherPresenter
首先在需要的Activity (View层)中实现IWeatherView接口:
public class MainActivity extends AppCompatActivity implements IWeatherView{
   @Override
   public void showWeatherView(WeatherBean data) {
       Toast.makeText(this,data.weather,Toast.LENGTHSHORT).show();
        }
}`
`
接口的实现很简单,只是通过Toast简单地把天气情况显示出来。
下面我们来看看WeatherPresenter的使用:
WeatherPresenter weatherPresenter = new WeatherPresenter(this);
weatherBtn.setOnClickListener(new View.OnClickListener() {
    @Override
    public void onClick(View v) {
        WeatherParams params = new WeatherParams();
        params.cityname = "北京";
        weatherPresenter.accessServer(params);
    }
});
我们来看看测试的结果:
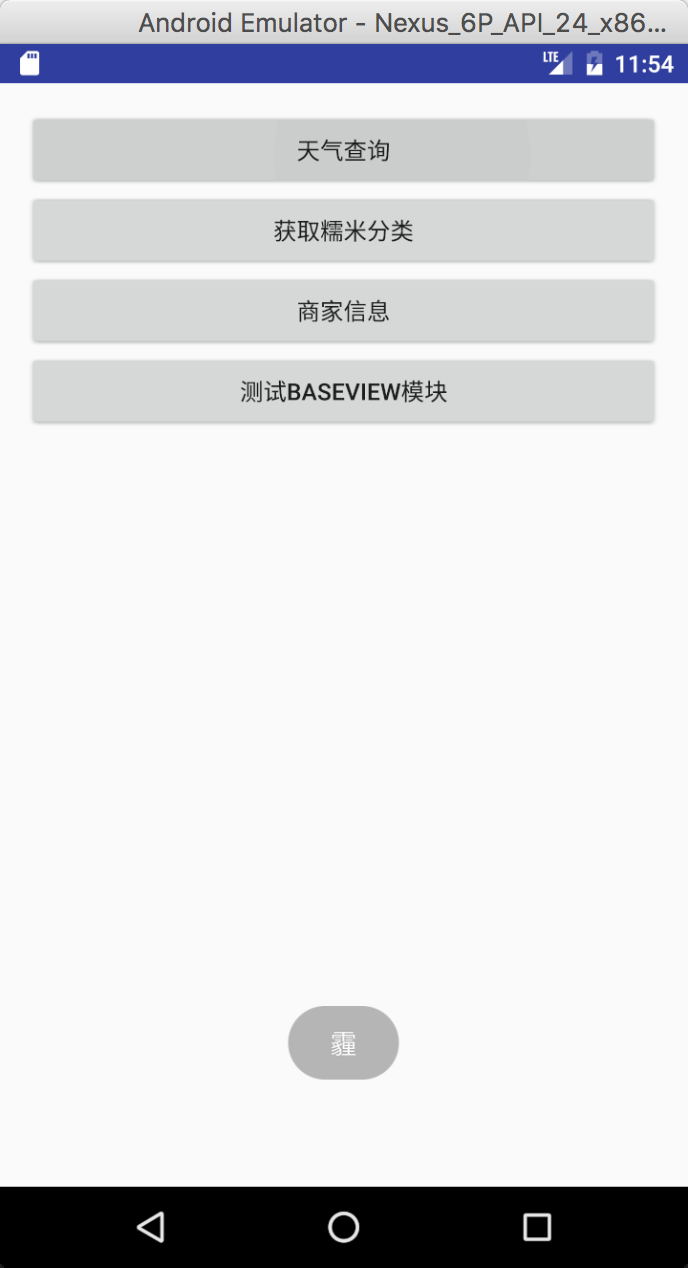
这里需要注意的一点是,由于百度的API是不支持POST请求的,所以当我们在使用百度的API时需要按照百度提供的方法用GET请求调用接口,所以上面例子中的WeatherParams参数是无效的。这里这样写只是为了让读者知道如果接口支持POST请求的话,可以用这种方法向服务器发起请求,这种方法更加灵活易用。
百度糯米分类接口
这是百度api store提供的一个用来获6取百度糯米分类的一个接口(在api store上面找不到了,但是还能用)。
接口地址:public static final String NUO_MI_CATEGOR = "/baidunuomi/openapi/categories";
INuoMiCategoryListView
interface INuoMiCategoryListView extends IMvpListView { void showNuoMiCategoryView(List nuoMiCategoryList);
}INuoMiCategoryListView接口也比较简单,只是负责把回调的列表传递到View层中。(这里的业务逻辑比较简单,所以没有经过任何处理就传递到view层。具体需要根据实际情况来处理,可以定义多个方法)。
NuoMiCategoryPresenter
public class NuoMiCategoryPresenter extends BasePaginationPresenter {

    private INuoMiCategoryListView nuoMiCategoryView;

    public NuoMiCategoryPresenter(INuoMiCategoryListView nuoMiCategoryView) {
        super(nuoMiCategoryView,NuoMiCategoryBean.class);
        this.nuoMiCategoryView = nuoMiCategoryView;
        getModel().setApiInterface(NUOMICATEGOR);
    }


    @Override
    public void serverResponse(List list) {
        nuoMiCategoryView.showNuoMiCategoryView(list);
    }
}`
`
可以看到NuoMiCategoryPresenter的实现也很简单,按照前面的理论,我们通过NuoMiCategoryPresenter就可以处理列表数据的刷新,加载下一页等功能了。由于百度糯米的分类接口只有一页的,所以我们这里不对加载下一页数据进行任何的讨论了。下面我们来看看NuoMiCategoryPresenter的具体使用。
在Activity中使用NuoMiCategoryPresenter
首先需要在Activity(View层)中实现INuoMiCategoryView接口
@Override
public void showNuoMiCategoryView(List nuoMiCategoryList) {
    Toast.makeText(this,"第一个分类名称 : "
            + nuoMiCategoryList.get(0).catname,Toast.LENGTHSHORT).show();
}`
`
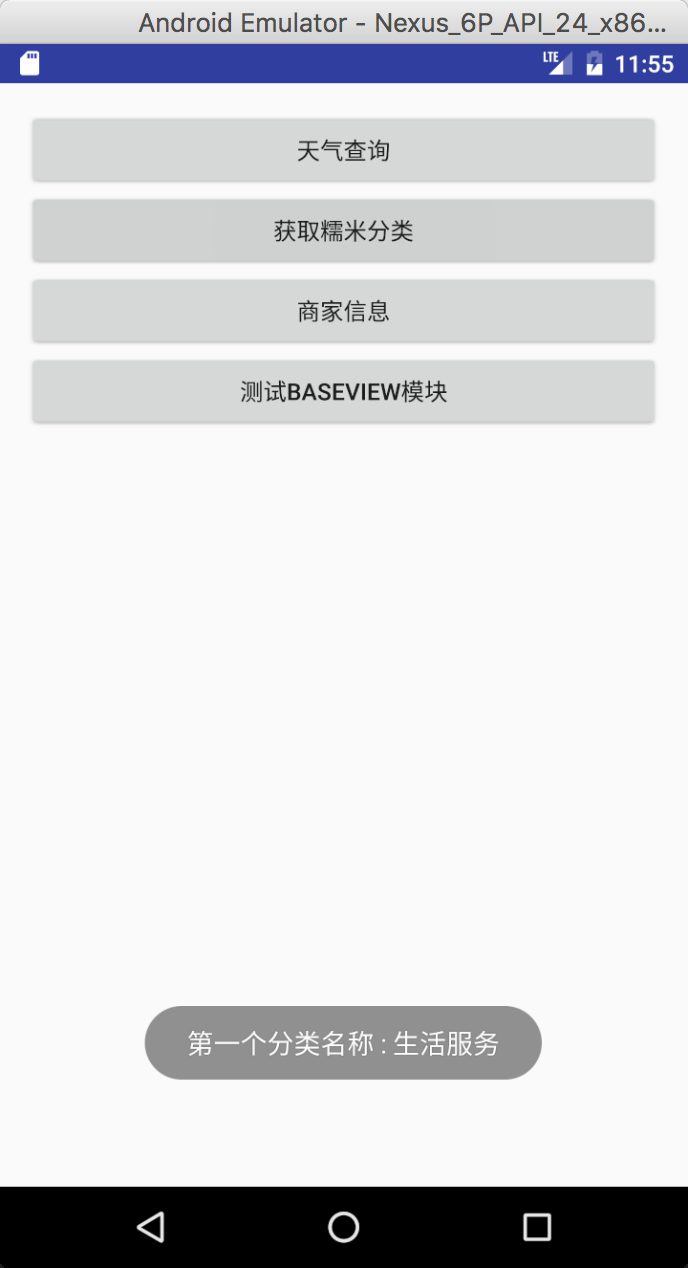
在这里为了简便,showNuoMiCategoryView(List\ nuoMiCategoryList)方法中用Toast显示第一个分类的名称。
实现了INuoMiCategoryView接口后,我们来尝试下在Activity中使用NuoMiCategoryPresenter来获取分类数据。
nuoMiCategoryPresenter = new NuoMiCategoryPresenter(this);
nuoMiCategoryBtn.setOnClickListener(new View.OnClickListener() {
    @Override
    public void onClick(View v) {
        nuoMiCategoryPresenter.accessServer();
    }
});
我们来看看使用的结果:
小结
本章就介绍道这里了,相信细心的同学可以发现用于回调数据的View层接口都是继承了IBaseMvpView接口,而View层里面还有三个方法(进度条和错误处理)。如果我们不对这几个方法的的处理进行封装的话,那么每个实现了回调数据的IView接口的View都需要手动再对这三个方法实现一遍。所以后面的文章我会讲解如何通过设计BaseActivity、BaseListActivity(fragment)实现一些基本事件的封装。从而优化工程,进一步减少我们要写的代码。
项目代码的地址是:github.com/DobbyTang/m…。上一章和这一章的测试demo都是在MainActivity中实现的,下一章会对项目的目录作一个详细的解析。有兴趣的同学欢迎光关注该项目,因为笔者的文笔比较差,所以文章进度会大大落后于项目进度。项目中关于Activity、 Fragmen基类已经完成了,大家可以先自行查看。如果有不懂的地方,请关注blog,笔者会尽快更新下一章的。
彩蛋:在这个系列结束的时候,笔者会用这个框架实现一个小小的APP,功能不会太复杂,但是会尽量囊括笔者在这系列文章中介绍的东西。
