项目地址:
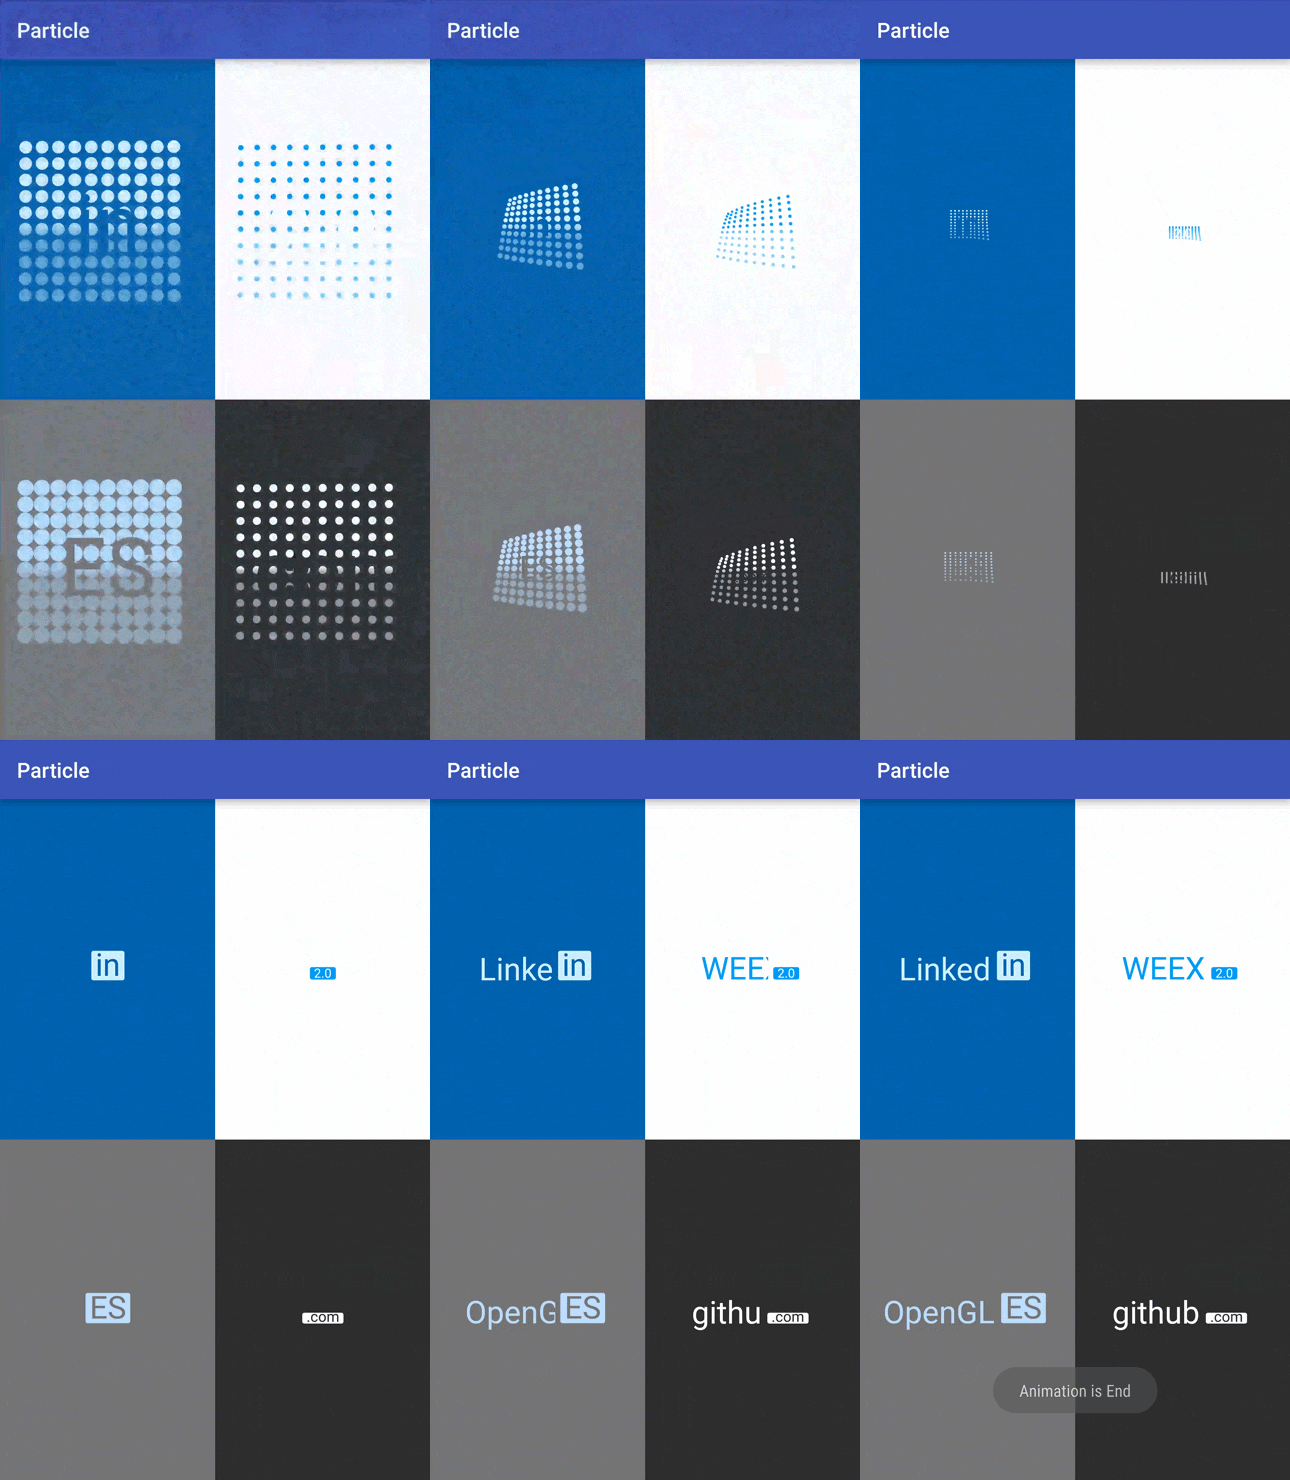
效果图:

使用场景:
- SplashActivity?
- …
- 好像真的不多 = =
效果看着还可以,有那么几个点一定需要知道实现。
- 粒子效果
- 几个坐标的计算方式
- 文字从左往右像素级显示
只要想清楚以上三点的实现过程,这个动画就没问题了。
一、粒子效果
简单四个字概括:二维数组。
private final int ROW_NUM = 10;
private final int COLUMN_NUM = 10;
private Particle[][] mParticles = new Particle[ROW_NUM][COLUMN_NUM];
private Particle[][] mMinParticles = new Particle[ROW_NUM][COLUMN_NUM];
为何会有两个二维数组?
因为粒子有个从大到小的过程,那么就需要有个起始particle[][]和一个终点particle[][]咯,来看看Particle的结构:
public class Particle {
    public float x;
    public float y;
    public float radius;
    public Particle() {
    }
    public Particle(float x, float y, float radius) {
        this.x = x;
        this.y = y;
        this.radius = radius;
    }
    }
由x坐标,y坐标和半径构成,那么Particle究竟由起点到终点经过了怎样的转换呢?来看看TypeEvaluator的实现:
public class LineEvaluator implements TypeEvaluator {
    @Override
    public Particle evaluate(float fraction, Particle startValue, Particle endValue) {
        Particle particle = new Particle();
        particle.x = startValue.x + (endValue.x - startValue.x) * fraction;
        particle.y = startValue.y + (endValue.y - startValue.y) * fraction;
        particle.radius = startValue.radius + (endValue.radius - startValue.radius) * fraction;
        return particle;
    }
    }
就是根据插值进行了一个简单的线性计算。
这样一来由二维数组构成的粒子实现方案已经有了,那么问题来了,动画中那种类似书本翻页的效果是如何实现的呢?
我用了一个很巧妙的方法,那就是对每个粒子设置的Duration都不同。
for (int i = 0; i < ROW_NUM; i++) {
    for (int j = 0; j < COLUMN_NUM; j++) {
        final int tempI = i;
        final int tempJ = j;
        ValueAnimator animator = ValueAnimator.ofObject(new LineEvaluator(), mParticles[i][j], mMinParticles[i][j]);
        animator.setDuration(1000 + 20 * i + 30 * j);
        animator.addUpdateListener(new ValueAnimator.AnimatorUpdateListener() {
            @Override
            public void onAnimationUpdate(ValueAnimator animation) {
                mParticles[tempI][tempJ] = (Particle) animation.getAnimatedValue();
                if (tempI == ROW_NUM - 1 && tempJ == COLUMN_NUM - 1) {
                    invalidate();
                }
            }
        });
        animList.add(animator);
    }
    }
关键代码:
animator.setDuration(1000 + 20 * i + 30 * j);
这样一来,所有粒子同一时间开始,动画的duration不同,那自然类似翻书效果就达到了。
细心的朋友看出来了,我还对粒子做了渐变处理。
Shader linearGradient = new LinearGradient(mWidth / 2 - getTextWidth(mParticleText, mCirclePaint) / 2f,
                mHeight / 2 - getTextHeight(mParticleText, mCirclePaint) / 2,
                mWidth / 2 - getTextWidth(mParticleText, mCirclePaint) / 2,
                mHeight / 2 + getTextHeight(mParticleText, mCirclePaint) / 2,
                new int[]{mParticleColor, Color.argb(120, getR(mParticleColor), getG(mParticleColor), getB(mParticleColor))}, null, Shader.TileMode.CLAMP);
                mCirclePaint.setShader(linearGradient);
private int getR(int color) {
    int r = (color >> 16) & 0xFF;
    return r;
    }
private int getG(int color) {
    int g = (color >> 8) & 0xFF;
    return g;
    }
private int getB(int color) {
    int b = color & 0xFF;
    return b;
    }
二、几个坐标的计算方式
其实做任何动画这一点都尤为重要,整个Canvas都是你的,coordinate那一定得算好。在这个动画里我觉得比较复杂坐标计算的就是最后那个HostText的位移和ParticleText的位移,为什么这么说呢?因为两个Text的textSize不同,但是最终又要保证他俩动画后保持居中。
我用的方案其实很简单,只要精准计算HostText和ParticleText的x坐标就好了,而不用去计算他们各自的偏移量这么复杂。
ValueAnimator particleTextXAnim = ValueAnimator.ofFloat(mStartMinP.x + dip2px(4),
    mWidth / 2 - (getTextWidth(mHostText, mHostTextPaint) + getTextWidth(mParticleText, mParticleTextPaint)) / 2 + getTextWidth(mHostText, mHostTextPaint));
    ValueAnimator hostTextXAnim = ValueAnimator.ofFloat(mStartMinP.x,
    mWidth / 2 - (getTextWidth(mHostText, mHostTextPaint) + getTextWidth(mParticleText, mParticleTextPaint) + dip2px(20)) / 2);
这两个属性动画的值域很重,各位看官可以仔细看下。
三、文字从左往右像素级显示
这也是此次动画需要解决的最后一个问题,各位朋友可以自己想想咋整。
我这里也是用了一个很巧妙的方式,那就是先drawText,再drawRect进行覆盖,drawRect通过属性动画逐步变小,这样drawText就可以达到像素级的移动效果了。
canvas.drawText(mHostText, mHostTextX, mHeight / 2 + getTextHeight(mHostText, mHostBgPaint) / 2, mHostBgPaint);
canvas.drawRect(mHostTextX + mHostRectWidth, mHeight / 2 - getTextHeight(mHostText, mHostBgPaint) / 1.2f, mHostTextX + getTextWidth(mHostText, mHostTextPaint), mHeight / 2 + getTextHeight(mHostText, mHostBgPaint) / 1.2f, mHostTextPaint);
mHostRectWidth是通过属性动画变化的,范围就是0到整个hostText的长度咯。
ValueAnimator animator = ValueAnimator.ofFloat(0, getTextWidth(mHostText, mHostTextPaint));
以上就是实现此次粒子动画的关键步骤,其余的相信各位同学看看代码一会就能领悟了。
如果有更好的思路,欢迎交流,开源本身就是大家互相喷喷,互相进步嘛, 对各种动画感兴趣的朋友欢迎加群479729938进行交流, 期待各种好看,好玩,实用的动画~
