

接下来的例子,将展示如何使用 WebRTC 的 RTCPeerConnection API 建立视频连接。
创建工程
创建如下的工程:
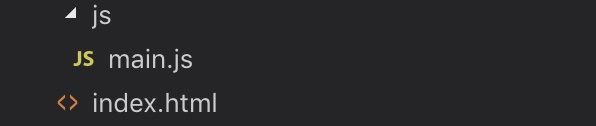
一个 index.html + 一个main.js。
在 html 中添加 video
在 index.html 中,添加两个 video,分别是 localVideo 和 remoteVideo,用于模拟建立视频连接的两端。
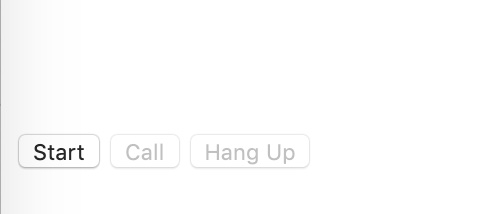
在创建三个按钮:Start、Call、Hang Up,用来模拟视频建立过程中的操作:
Start:localVideo 打开摄像头并显示视频
Call:localVideo 向 remoteVideo 发出请求,并显示 remoteVideo 的视频
Hang Up:remoteVideo 挂断
因此 index.html 的代码为:
<!DOCTYPE html>

<html>

<body>

<div id="container">

    <video id="localVideo" playsinline autoplay muted></video>
    <video id="remoteVideo" playsinline autoplay></video>

    <div class="box">
        <button id="startButton">Start</button>
        <button id="callButton">Call</button>
        <button id="hangupButton">Hang Up</button>
    </div>

</div>

<script src="js/main.js" async></script>

</body>
</html>
显示的效果如下:
Start 功能实现
Start 功能要实现 localVideo 打开摄像头并显示视频的功能。
这时候需要用到 getUserMedia 这个 API。
代码如下:
let localStream;
const startButton = document.getElementById('startButton');
startButton.addEventListener('click', start);

async function start() {
  console.log('Requesting local stream');
  startButton.disabled = true;
  try {
    const stream = await navigator.mediaDevices.getUserMedia({audio: true, video: true});
    console.log('Received local stream');
    localVideo.srcObject = stream;
    localStream = stream;
    callButton.disabled = false;
  } catch (e) {
    alert(`getUserMedia() error: ${e.name}`);
  }
}
只要点击 Start,就会在网页上展示当前的视频,如下:

Call 功能实现
Call 功能要实现 localVideo 向 remoteVideo 发出请求,并显示 remoteVideo 的视频。
Call 功能是一个核心功能,会为两端的视频建立连接,需要用到 RTCPeerConnection 这个 API。
首先获取 localVideo 和 remoteVideo 这两个 Video,并创建两个变量来分别代表这两个 Video 的 PeerConnection,localVideo 为 pc1,remoteVideo 为 pc2:
const localVideo = document.getElementById('localVideo');
const remoteVideo = document.getElementById('remoteVideo');

let pc1;
let pc2;
然后获取 Call 按钮,并为其分配点击事件:
const callButton = document.getElementById('callButton');
callButton.addEventListener('click', call);
async function call() {
}
在 call() 里面就要使用到 RTCPeerConnection 来建立连接,一个是 pc1,一个是 pc1,然后 pc1 向 pc2 建立连接:
async function call() {
  callButton.disabled = true;
  hangupButton.disabled = false;
  console.log('Starting call');
  caches
  pc1 = new RTCPeerConnection();
  console.log('Created local peer connection object pc1');
  pc1.addEventListener('icecandidate', e => onIceCandidate(pc1, e));
  pc2 = new RTCPeerConnection({});
  console.log('Created remote peer connection object pc2');
  pc2.addEventListener('icecandidate', e => onIceCandidate(pc2, e));
  pc2.addEventListener('track', gotRemoteStream);

  localStream.getTracks().forEach(track => pc1.addTrack(track, localStream));
  console.log('Added local stream to pc1');

  try {
    console.log('pc1 createOffer start');
    const offer = await pc1.createOffer(offerOptions);
    await onCreateOfferSuccess(offer);
  } catch (e) {
  }
}

async function onCreateOfferSuccess(desc) {
  console.log(`Offer from pc1\n${desc.sdp}`);
  console.log('pc1 setLocalDescription start');
  try {
    await pc1.setLocalDescription(desc);
  } catch (e) {
  }

  console.log('pc2 setRemoteDescription start');
  try {
    await pc2.setRemoteDescription(desc);
  } catch (e) {
  }

  console.log('pc2 createAnswer start');
  // Since the 'remote' side has no media stream we need
  // to pass in the right constraints in order for it to
  // accept the incoming offer of audio and video.
  try {
    const answer = await pc2.createAnswer();
    await onCreateAnswerSuccess(answer);
  } catch (e) {
  }
}


function gotRemoteStream(e) {
  if (remoteVideo.srcObject !== e.streams[0]) {
    remoteVideo.srcObject = e.streams[0];
    console.log('pc2 received remote stream');
  }
}

async function onCreateAnswerSuccess(desc) {
  console.log(`Answer from pc2:\n${desc.sdp}`);
  console.log('pc2 setLocalDescription start');
  try {
    await pc2.setLocalDescription(desc);
  } catch (e) {
  }
  console.log('pc1 setRemoteDescription start');
  try {
    await pc1.setRemoteDescription(desc);
  } catch (e) {
  }
}

async function onIceCandidate(pc, event) {
  try {
    await (getOtherPc(pc).addIceCandidate(event.candidate));
  } catch (e) {
  }
}

const offerOptions = {
  offerToReceiveAudio: 1,
  offerToReceiveVideo: 1
};

function getName(pc) {
  return (pc === pc1) ? 'pc1' : 'pc2';
}

function getOtherPc(pc) {
  return (pc === pc1) ? pc2 : pc1;
}
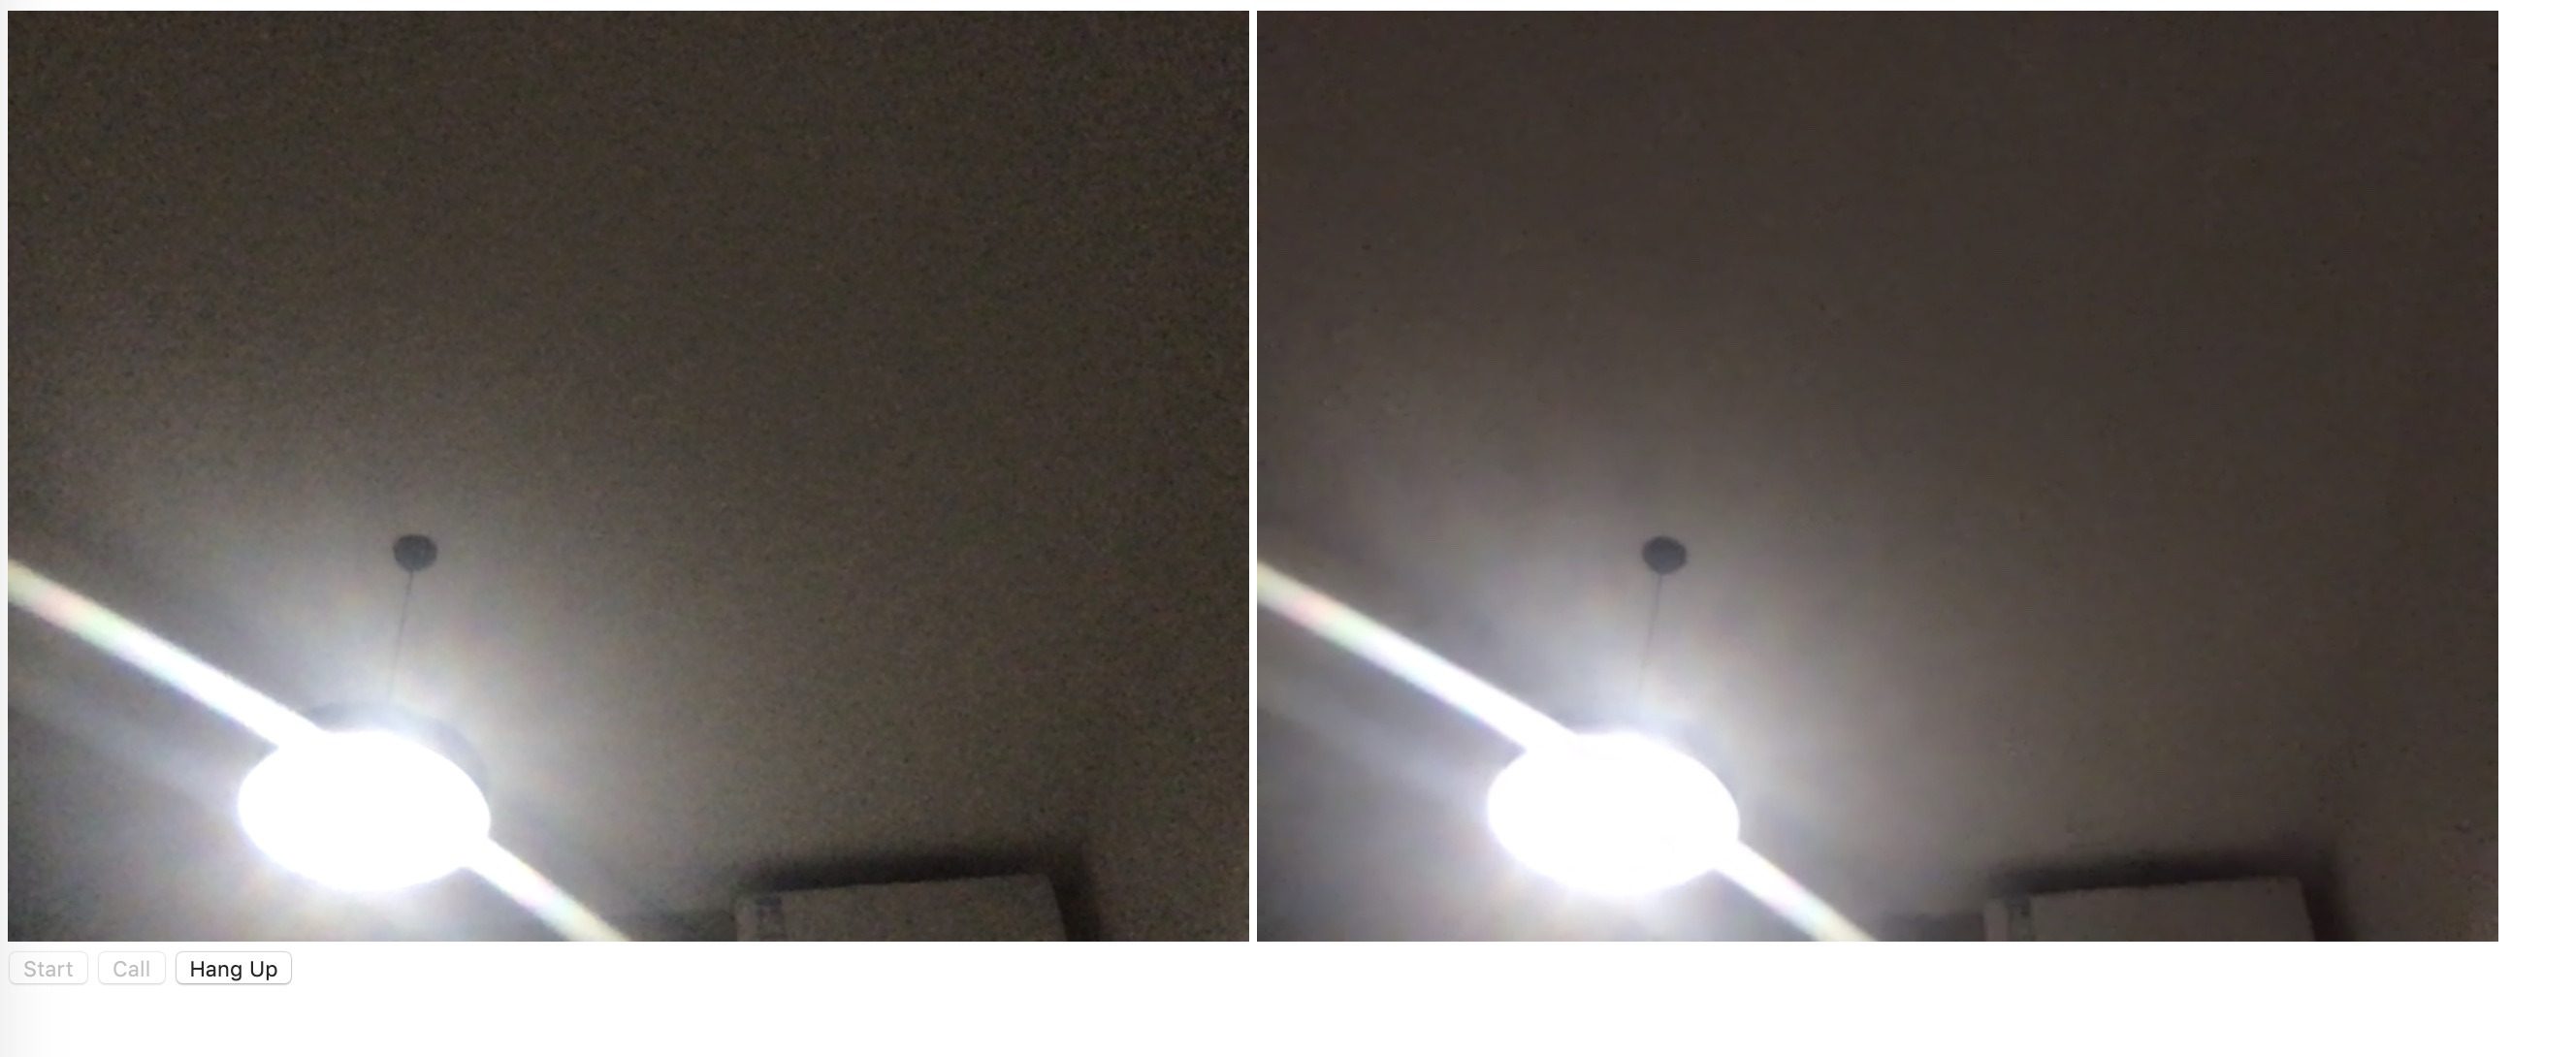
至此,只要点击 Call,就会建立连接,因为这里用到的视频是同一台电脑的,所以画面如下:
Hang Up 功能实现
Hang Up 功能要实现挂断 remoteVideo 的视频连接的功能。很好实现,只要将 pc1和pc2的连接关闭就行,代码如下:
const hangupButton = document.getElementById('hangupButton');
hangupButton.addEventListener('click', hangup);


function hangup() {
  console.log('Ending call');
  pc1.close();
  pc2.close();
  pc1 = null;
  pc2 = null;
  hangupButton.disabled = true;
  callButton.disabled = false;
}
点击 Hang Up 之后的画面如下:

总结
至此一个使用 WebRTC 的 RTCPeerConnection API 实现的简单的视频连接功能就实现完成了。
